
Introduction to Homemade Israeli-Style Matzah
Why Matzah?
Matzah, or unleavened bread, holds a special place in Jewish culinary tradition, particularly during Passover. But why is this simple flatbread so significant? During Passover, it symbolizes the hasty departure of the Israelites from Egypt, which didn’t allow time for their bread to rise. Making your own homemade Israeli-style matzah not only connects you with this rich history but also offers a delightful and crunchy snack any time of the year!
A Brief History of Matzah in Israeli Culture
The origins of matzah date back thousands of years, rooted deeply in the events of the Exodus. In Israel, matzah transcends its religious significance—it's a beloved staple enjoyed in various forms, from crisp snacks to ceremonial fare. It’s fascinating to consider how, as you prepare this homemade Israeli-style matzah, you’re participating in a culinary legacy.
Matzah's presence is felt in many cultural gatherings, showcasing its importance as a symbol of freedom and faith. Moreover, the art of crafting this unleavened bread has inspired countless families to develop their own unique recipes. If you're interested in recipes inspired by tradition, check out the Hadassah Magazine for more insights into matzah and Jewish culinary heritage.
As you embark on your journey with this homemade matzah recipe, you blend history with your own creativity—what could be more rewarding?
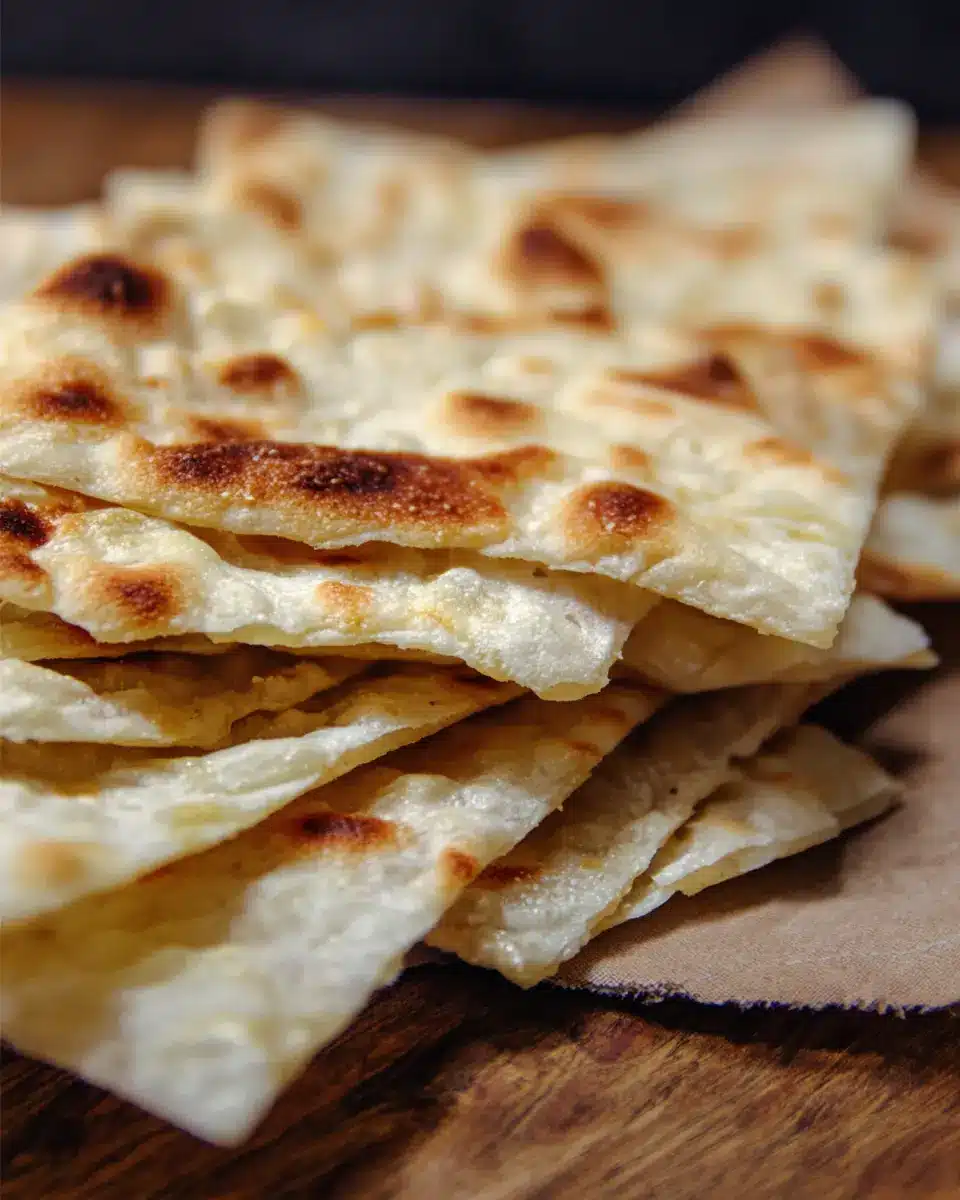
Ingredients for Homemade Israeli-Style Matzah
Creating homemade matzah is not only satisfying but also an excellent way to connect with tradition. Let’s dive into the key ingredients you'll need.
Essential pantry ingredients
For this Homemade Israeli-Style Matzah Recipe, you'll need just a handful of common ingredients:
- Flour: The base of your matzah. All-purpose flour works wonderfully here.
- Olive oil: Adds a touch of richness and brings the dough together.
- Water: Essential for making the dough pliable and manageable.
- Salt: Just a pinch enhances the flavor and balances the ingredients.
These items are likely already in your pantry, making this an easy recipe to whip up!
Tips for selecting the right flour
When choosing flour, consider using high-gluten wheat flour for added structure and chewiness. This type of flour can help you achieve that signature crisp texture. If you're looking for a unique twist, try specialty flours like spelt flour or whole wheat flour for a heartier taste. Always check the protein content; a higher percentage suggests better elasticity for your dough.
By investing in good-quality flour from a reliable source, such as King Arthur Baking or Bob's Red Mill, you can elevate your matzah to a gourmet level! Happy baking!
Step-by-step preparation of Homemade Israeli-Style Matzah
Creating your own Homemade Israeli-Style Matzah isn't just a delightful task; it's also a fantastic way to connect with tradition, especially during Passover. Here's a step-by-step guide to bring that perfect crispy texture right to your kitchen.
Preheat your oven
Start by preheating your oven to 500°F. This high temperature is crucial for achieving that characteristic crunch and golden color. If you're using a pizza stone, place it in the oven while it's preheating. This will ensure that the matzah cooks evenly and takes on that authentic bready flavor. Preheating is not just a suggested step; it’s vital for a successful bake!
Mixing flour and salt
In a large mixing bowl, combine 2 ⅓ cups of flour with ½ teaspoon of salt. This is where we start building the foundational flavors of our matzah. Stir these two together until evenly mixed. The salt will enhance the flavor, giving your matzah that extra zing! A basic understanding of flour types can help you choose the best option for your matzah; opting for all-purpose flour usually yields great results.
Adding olive oil and water
Next, it’s time to add in 4 tablespoons of olive oil and 1 cup of water. Pour them directly into your flour mixture. Use a spatula or wooden spoon to mix until a rough dough begins to form. It’s essential to work quickly at this stage; striving to keep the total process under 18 minutes is part of the tradition of unleavened bread. Save some time by measuring your ingredients beforehand so you can avoid any distractions.
Kneading the dough
Now that your dough has come together, it's time for some light kneading. On a floured surface, gently knead the dough for about 1 to 2 minutes until it’s smooth. Remember not to overdo it; you want to retain that delicate structure that will make your matzah perfectly crispy. After kneading, you can choose to either divide the dough into 6 to 8 pieces or keep it whole for simplicity.
Rolling the dough
Roll each piece of dough out as thinly as possible — remember, paper-thin is best! If you have a rolling pin, use it for an even thickness. The thinner you roll, the crisper your matzah will be. Don’t stress about achieving perfection; just aim for a consistent thinness throughout. This step is all about creating a satisfying texture.
Baking the matzah
Finally, it’s time to bake! Place the rolled-out dough onto a parchment-lined baking sheet or directly on that hot pizza stone. Don’t forget to prick the surface all over with a fork; this will help prevent puffing. Bake for 3 to 5 minutes, then flip and bake for another 3 to 5 minutes until golden and crispy. Keep a watchful eye as they bake, since they can go from golden to burnt quickly. Let them cool slightly before breaking or cutting into pieces using a pizza cutter if you kept the dough whole.
And there you have it! Your very own Homemade Israeli-Style Matzah, perfect for snacking or for adding a delightful crunch to your holiday table. Want to learn more about the cultural significance of matzah? Check out this article for an enriching perspective.
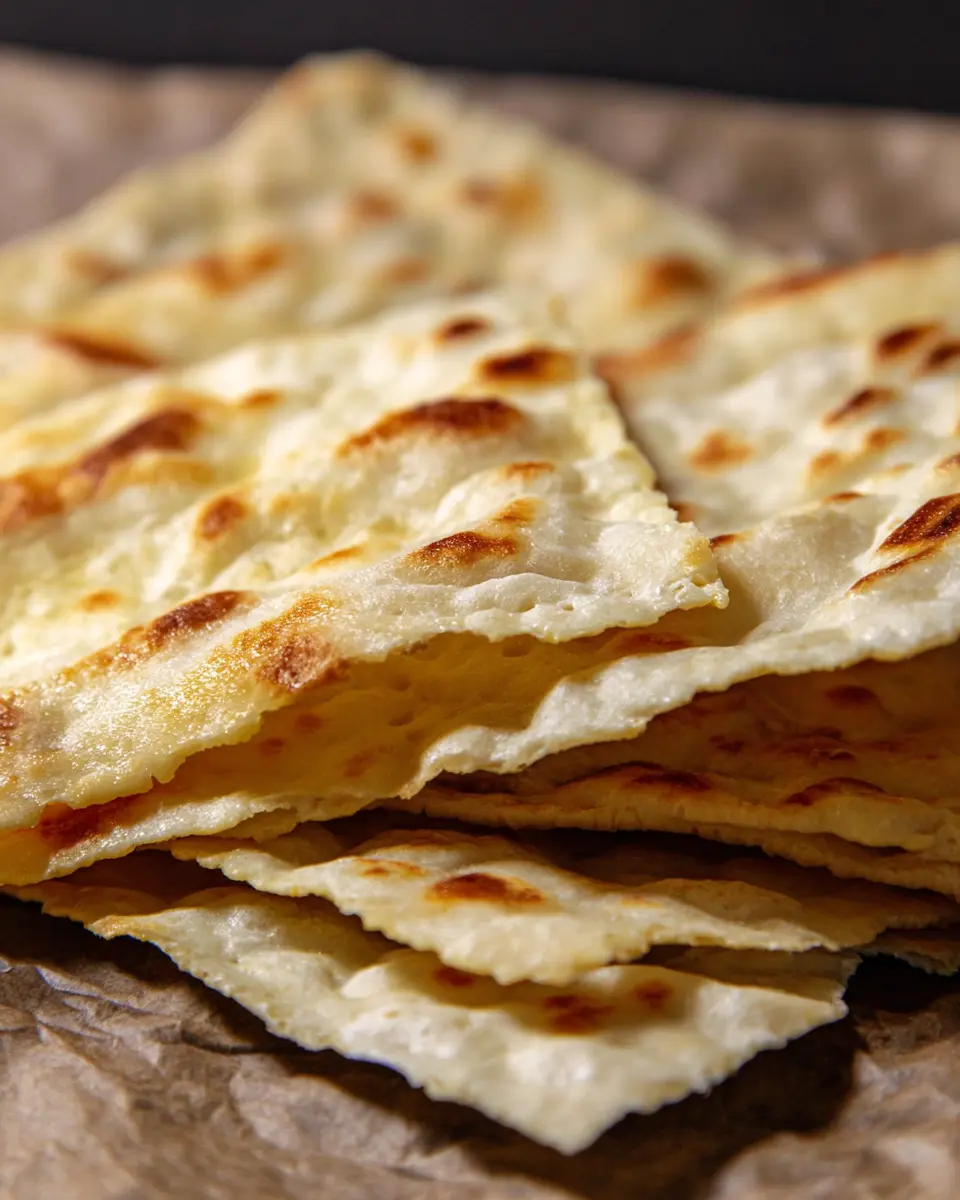
Variations on Homemade Israeli-Style Matzah
Whole Grain Matzah
For a heartier option, try substituting the all-purpose flour with whole wheat flour for your Homemade Israeli-Style Matzah Recipe. Whole grain matzah not only has a richer flavor but also adds dietary fiber, making it a healthier choice. The preparation remains the same—just keep an eye on baking time as whole grain flour can change the texture slightly. A delicious twist that elevates the humble matzah!
Herb-Infused Matzah
Want to add a burst of flavor? Consider an herb-infused matzah. Simply mix in your favorite dried herbs—like rosemary or thyme—into the dough for a fragrant touch. This variation is perfect for snacking or pairing with cheeses and spreads. Imagine the delightful aroma as you take these crispy delights fresh from the oven. Feeling adventurous? You could even sprinkle some garlic powder or nutritional yeast for an added savory kick!
Cooking tips and notes for Homemade Israeli-Style Matzah
The Importance of Thinness
When making your Homemade Israeli-Style Matzah, aim for paper-thin dough. This ensures a delightfully crispy texture that elevates your matzah experience. A good rolling pin will help you achieve that perfect thinness. If you find the dough sticking, a light dusting of flour can do wonders.
Timing is Everything
Keeping an eye on the clock is crucial. Traditional matzah must be made in under 18 minutes to maintain its unleavened status. Be prepared to roll, bake, and enjoy without hesitation! Make sure your oven is preheated to 500°F for best results, and don't forget to prick the surface thoroughly to avoid puffing while baking.
For more tips on unleavened bread, check out The Spruce Eats for additional insights and techniques!
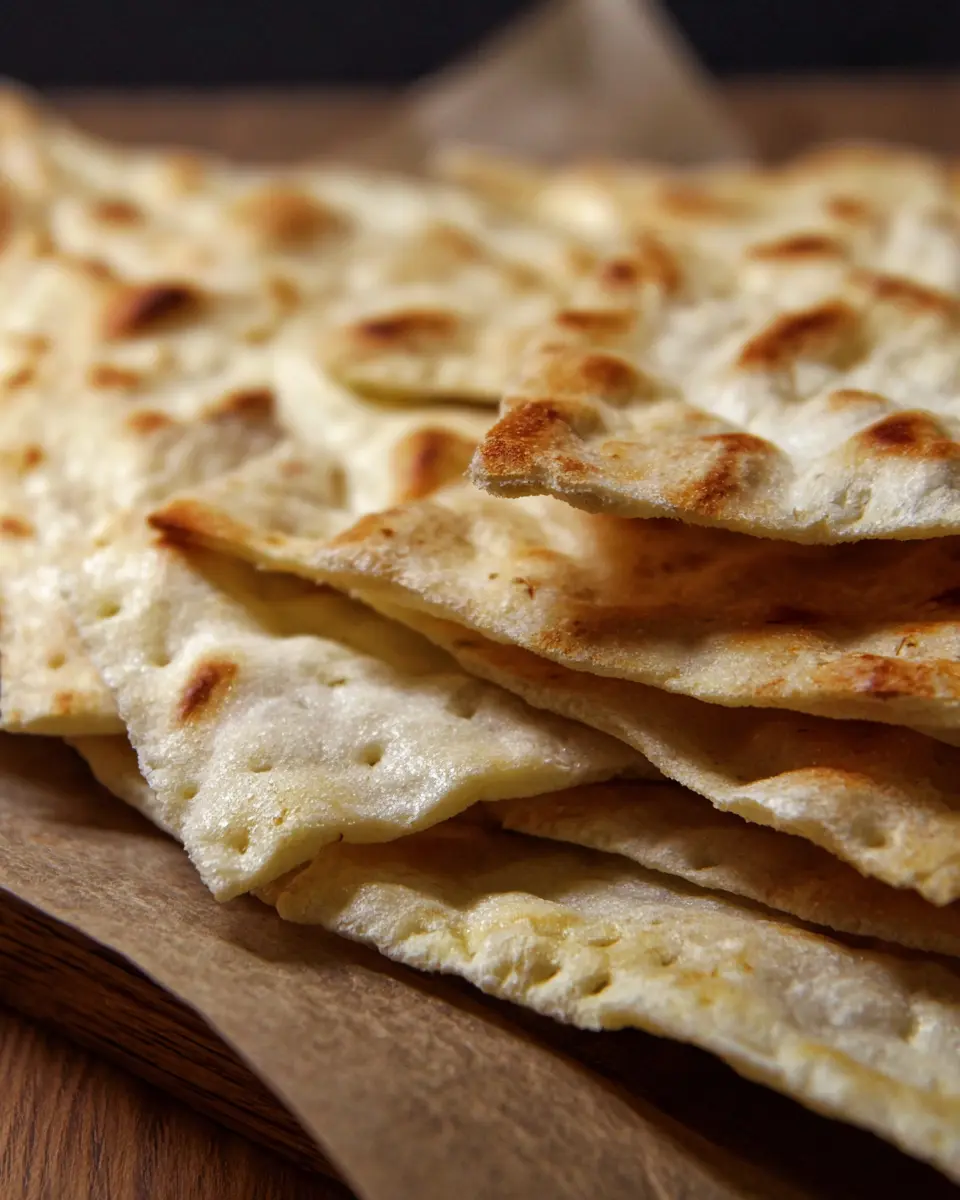
Serving Suggestions for Homemade Israeli-Style Matzah
Best Dips and Spreads
Pair your Homemade Israeli-Style Matzah with a variety of delicious dips and spreads to elevate your snack game. Consider classic options like:
- Hummus: A creamy blend of chickpeas and tahini that complements the matzah's crunch.
- Baba Ganoush: This smoky eggplant dip adds a rich flavor, perfect for satisfying savory cravings.
- Herbed yogurt: Mixing Greek yogurt with fresh herbs offers a refreshing dip.
Experiment with flavored olive oil or a zesty salsa for exciting twists!
Incorporating Matzah into Meals
Don't limit your matzah to snacks! Use it creatively in meals:
- Matzah Brei: This traditional dish involves soaking matzah in eggs and frying until golden; serve it with Turkey Bacon or sautéed veggies for breakfast.
- Matzah Pizza: Top with tomato sauce, cheese, and your choice of toppings like Chicken Ham or assorted veggies for a fun, quick pizza night.
- Soups and Stews: Crumble matzah into hearty soups for a delightful textural contrast.
Embrace your Homemade Israeli-Style Matzah as a versatile ingredient and make mealtime special! Consider checking out websites like Fine Cooking or Serious Eats for more inspiration.
Time Breakdown for Homemade Israeli-Style Matzah
Preparation Time
The prep time for this Homemade Israeli-Style Matzah Recipe is a breezy 10 minutes. This quick phase involves gathering and mixing your ingredients, ensuring you're ready to get baking in no time.
Cooking Time
Once your dough is rolled out, the cooking time is just 8 minutes. With the oven preheated to a sizzling 500°F, you'll have crispy matzah ready to enjoy in mere minutes!
Total Time
In total, you're looking at just 18 minutes for the entire process—from mixing to baking—making this a speedy yet delicious option for any occasion, particularly Passover.
For more tips on unleavened bread, check out this informative Jewish virtual library to dive deeper into matzah traditions!
Nutritional Facts for Homemade Israeli-Style Matzah
Calories per serving
Each serving of this delicious Homemade Israeli-Style Matzah Recipe comes in at approximately 220 calories. If you're looking for a guilt-free snack option that’s perfect for any time of year, this shines with its simplicity and flavor.
Key nutritional breakdown
Here's a breakdown of the key nutrients you’ll get in each serving:
- Carbohydrates: 32g
- Protein: 5g
- Fat: 8g
- Fiber: 1g
- Sodium: 150mg
This matzah is not only tasty but also comprises essential nutrients that fit into a balanced diet. For more insights on matzah's nutritional benefits, check out resources like the USDA FoodData Central for detailed information. Enjoy your crispy, homemade goodness!
FAQ about Homemade Israeli-Style Matzah
Can I make matzah in advance?
Absolutely! You can prepare your Homemade Israeli-Style Matzah Recipe ahead of time. Just bake the matzah and store it in an airtight container once it has cooled. To maintain its crispiness, avoid stacking them directly; instead, use parchment paper between layers. This way, you can enjoy it fresh without worrying about the texture!
What substitutions can I make for ingredients?
If you're short on ingredients or looking to make swaps, there are a few options:
- Flour: Whole wheat flour can be used for a nuttier flavor, but it may change the texture slightly.
- Olive Oil: You can substitute it with any neutral oil or melted coconut oil for a different taste.
- Water: For added flavor, consider using broth in lieu of water.
How do I store leftover matzah?
To keep your leftover matzah crispy, place it in an airtight container at room temperature. Avoid refrigeration as it can lead to moisture absorption. For longer storage, consider freezing the matzah, which can help preserve its flavor and texture. Just thaw it at room temperature when you're ready to enjoy it again!
For more tips on storing baked goods, check out Food Network’s Guide.
Conclusion on Homemade Israeli-Style Matzah
In summary, this Homemade Israeli-Style Matzah Recipe is a delightful way to embrace tradition while enjoying the flexibility of a quick, tasty snack. Perfect for Passover or any occasion, it’s easy to make and customize. Enjoy this thin, crispy bread with your favorite dips or toppings!
Homemade Israeli-Style Matzah Recipe
Equipment
- oven
- Mixing bowl
- Pizza cutter
- Baking sheet
- pizza stone
Ingredients
Dry Ingredients
- 2 ⅓ cups flour
- ½ teaspoon salt
Wet Ingredients
- 4 tablespoon olive oil
- 1 cup water
Instructions
Baking Steps
- Preheat oven to 500°F. If using a pizza stone, place it in the oven while preheating.
- In a large bowl, mix together the flour and salt.
- Add olive oil and water, mixing until a dough forms.
- Knead lightly for 1–2 minutes until smooth.
- Divide dough into 6–8 pieces. Or leave whole to save on time.
- Roll each piece out as thin as possible (paper-thin is best).
- Place dough onto parchment-lined baking sheet or hot pizza stone.
- Prick the surface all over with a fork to prevent puffing.
- Bake for 3–5 minutes, flip, and bake another 3–5 minutes until lightly browned and crisp.
- Remove from oven and let cool slightly before serving. Cut with a pizza cutter if you left the dough whole.



Leave a Reply