
Introduction to Raspberry Ripple Cake
Why Raspberry Ripple Cake is a Must-Try
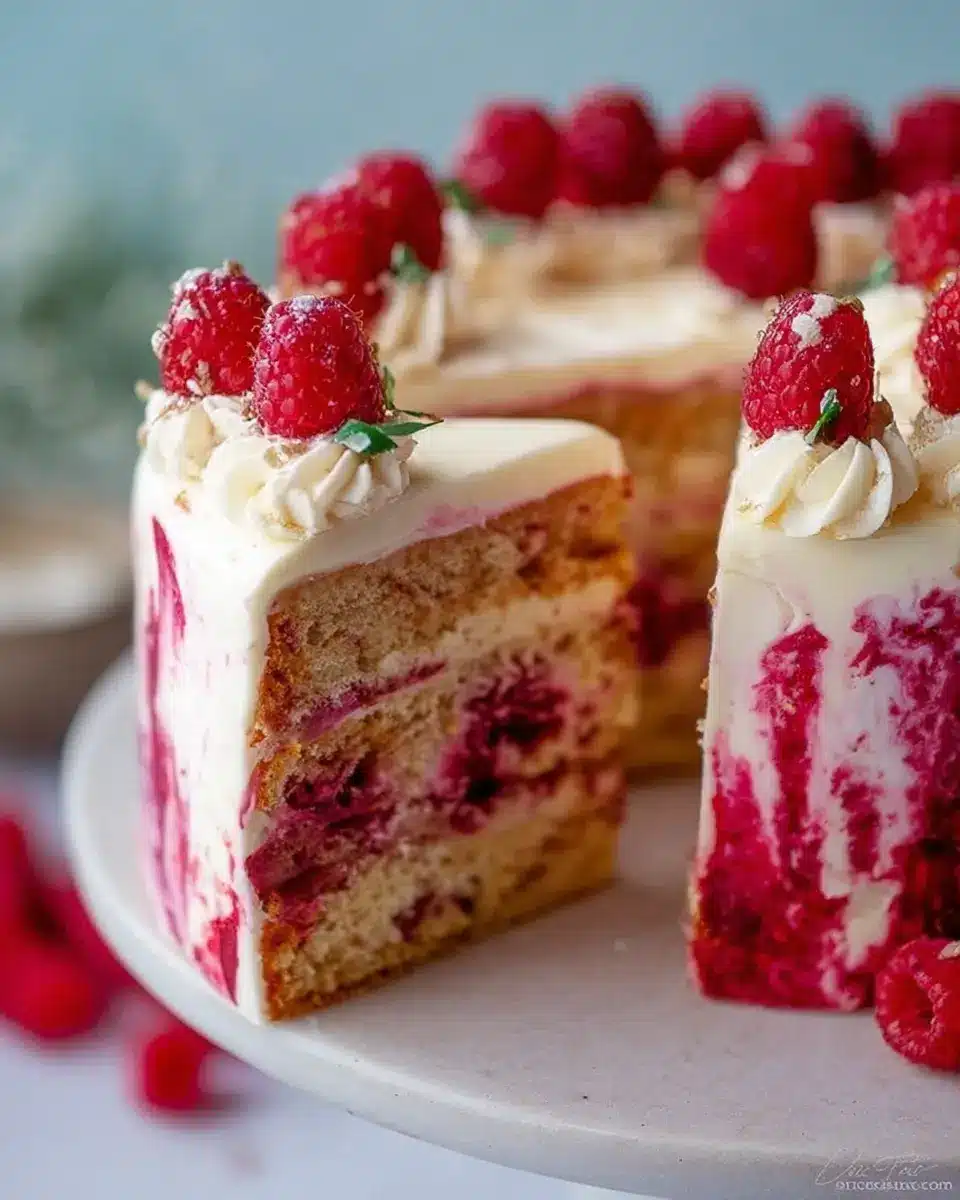
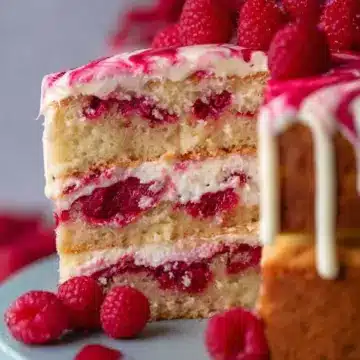
If you love dessert that combines both flavor and aesthetics, then Raspberry Ripple Cake should be your next baking adventure! This delightful cake features three layers of moist vanilla sponge swirled with vibrant raspberry coulis and studded with juicy raspberries. Each slice is not just a treat for your taste buds but also a feast for the eyes, thanks to its striking raspberry marble effect.
Imagine serving this cake at your next gathering—it’s sure to be a showstopper! Made with simple ingredients, it feels special without requiring you to spend hours in the kitchen. Plus, the vanilla buttercream frosting perfectly balances the tartness of the raspberries, making every bite a harmonious blend of sweet and tangy. You can customize the toppings by adding fresh or freeze-dried raspberries for a burst of flavor and a pop of color.
For a little inspiration, check out this guide on making delicious raspberry coulis, which will elevate your cake even further. Eating a slice of Raspberry Ripple Cake is like indulging in summer, no matter the season. Whether you’re a seasoned baker or a beginner in the kitchen, this recipe is approachable and incredibly rewarding! So roll up your sleeves and let’s get baking!
Ingredients for Raspberry Ripple Cake
Creating a delightful Raspberry Ripple Cake starts with gathering the right ingredients. Here’s a brief breakdown of what you’ll need to make this show-stopping dessert!
Essential Ingredients for the Cake
For the cake itself, you’ll need:
- 400 g unsalted butter
- 400 g caster sugar
- 8 medium eggs
- 400 g self-raising flour
- 150 ml raspberry coulis (store-bought or homemade)
- 200 g fresh raspberries
These ingredients deliver a moist texture and a burst of raspberry goodness in every bite. Want to make your own coulis? Check out this easy recipe!
Components for the Buttercream
Perfecting your buttercream is essential for a smooth finish. Gather:
- 500 g unsalted butter (at room temperature)
- 1000 g icing sugar
- 1 teaspoon white food colouring
- ½ teaspoon red food colouring
This combination provides rich flavor and a visually appealing contrast for your cake.
Decoration Essentials
Finally, for stunning decoration, you’ll need:
- 150 g raspberry jam
- 15 g freeze-dried raspberries
- 150 g fresh raspberries
These add texture and vibrant color, making your Raspberry Ripple Cake truly irresistible!
By gathering these ingredients, you’re on your way to crafting a delightful treat that will impress your guests and satisfy your sweet tooth. Happy baking!
Preparing Raspberry Ripple Cake
Creating a delicious Raspberry Ripple Cake is a delightful experience that combines vibrant flavors with stunning visuals. Let’s dive into how you can prepare this mouthwatering dessert step by step!
Preheat and Prepare Your Baking Tins
First off, preheat your oven to 180ºC (or 160ºC for fan ovens). While that's heating up, grab three 8-inch (20 cm) cake tins and line them with baking parchment. This simple step will ensure that nothing sticks, making your cake layers easier to remove once baked. Plus, it gives your cake a neat finish!
Cream the Butter and Sugar
In a stand mixer or a large bowl, start by beating together 400 g of unsalted butter and 400 g of caster sugar until the mixture is light and fluffy. This step is crucial, as it incorporates air, giving your cake a lovely rise. If you have a minute, take a moment to appreciate how smooth and creamy the mixture should look!
Add the Eggs and Flour
Next up, add in the eggs (8 medium ones, please) and 400 g of self-raising flour. Beat everything together until well combined. Don’t worry if the mixture looks a bit heavy; it’s all part of bringing your Raspberry Ripple Cake to life!
Fold in Raspberries and Coulis
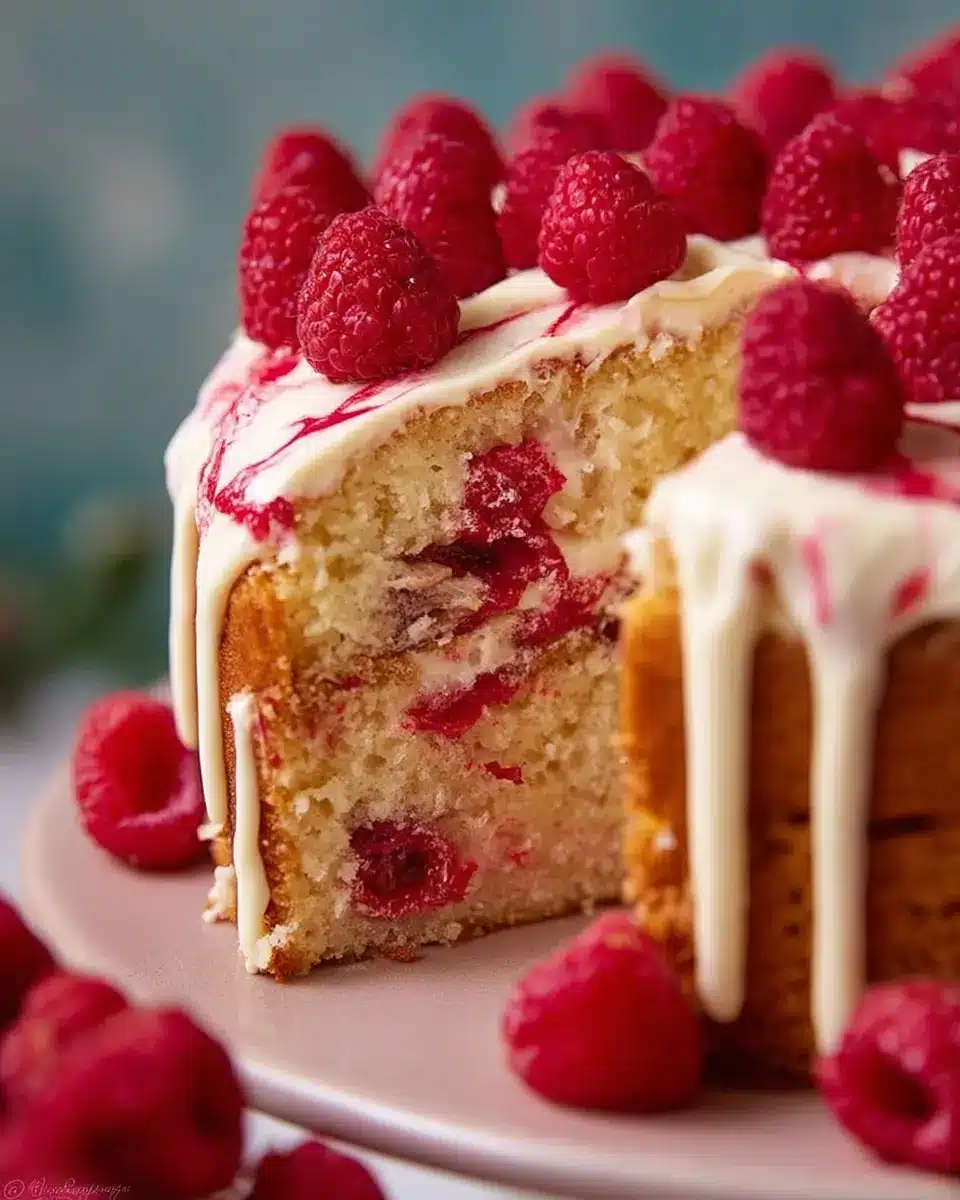
Once well combined, gently fold in 200 g of fresh raspberries and 150 ml of raspberry coulis, creating that beautiful ripple effect. Aim for a marbled look – you want swirls of pink and white. Don’t overdo it; you want those lovely chunks of raspberry throughout.
Bake and Cool the Layers
Divide the mixture evenly among the three prepared tins and pop them in the oven. Bake for about 35 minutes, or until a skewer comes out clean. Once done, let them cool in the tins for about 10 minutes before transferring them to a wire rack to cool completely. This is where the magic happens – your cake layers are forming beautifully!
Make the Buttercream
While the layers are cooling, it’s time to whip up some buttercream. Beat 500 g of unsalted butter for a minute or two until it’s smooth. Gradually add 1000 g of icing sugar and mix until fluffy. For that classic smooth look, add a teaspoon of white food coloring; it helps brighten your buttercream for a stunning finish.
Assemble the Layers with Jam and Buttercream
Now, let’s assemble! Place the first layer on a cake board, spread a thin layer of white buttercream, and add about half of your raspberry jam. Repeat this with the second layer, creating a beautiful tiered structure.
Apply the Crumb Coat
For a seamless finish, use a small amount of buttercream to apply a crumb coat – a thin layer that traps crumbs. After smoothing this on, pop it in the fridge for at least 30 minutes. This step is essential for achieving a clean, professional-looking cake.
Decorate the Cake
Finally, it’s time to decorate! Once your crumb coat is set, generously cover the cake with buttercream using a spatula to achieve a smooth finish. You can get creative here – why not add some extra raspberry magic with freeze-dried raspberries on top? Your Raspberry Ripple Cake is not just a treat for the taste buds, but a feast for the eyes too!
With these steps, you’ll not only have a delectable cake but also fond memories from the baking process. Enjoy the experience!
Variations on Raspberry Ripple Cake
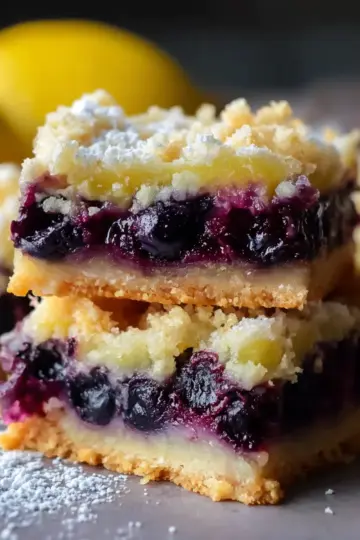
Blueberry Ripple Cake
For a delightful twist, try a Blueberry Ripple Cake instead of the classic Raspberry version. Just replace the raspberry coulis with blueberry coulis and fold in fresh blueberries. This variation offers a juicy burst of flavor with every slice! The rich, buttery cake harmonizes perfectly with blueberries, making it a hit for summer gatherings or cozy get-togethers.
Strawberry Ripple Cake
If you’re more of a strawberry fan, opt for a Strawberry Ripple Cake. Swap out the raspberry elements for fresh strawberries and strawberry coulis. This cake has a vibrant color and sweet aroma that's simply irresistible. Not only does it capture the essence of summer, but it also pairs excellently with a dollop of whipped cream or some vanilla ice cream for an indulgent dessert experience.
For more fruity inspirations, check out Jane’s Patisserie and discover endless ways to make your cake creations shine!
Essential Tips for Raspberry Ripple Cake
Tips for Achieving the Perfect Cake Texture
For a beautifully soft and fluffy Raspberry Ripple Cake, ensure your butter is at room temperature before mixing. This will help incorporate air effectively. Avoid overmixing the batter once you add the raspberries; folding gently preserves their shape and keeps the cake light. Always test for doneness with a skewer; it should come out clean or with a few moist crumbs.
Best Practices for Buttercream
Creating the ideal buttercream is all about patience. Start with room-temperature unsalted butter for smooth blending and beat it well before adding icing sugar. This helps achieve that coveted light, fluffy texture. If your buttercream feels too thick, a few drops of milk can loosen it. For vibrant colors, add food coloring a little at a time until you reach your desired shade.
For more buttercream tips, check out this guide.
Serving Suggestions for Raspberry Ripple Cake
Pairing with Fresh Fruits
To elevate your Raspberry Ripple Cake, serve it with a selection of fresh fruits. Think luscious strawberries, blackberries, or even a zesty citrus like orange. The tartness of the berries will enhance the cake's sweet flavors, while citrus adds a refreshing contrast. Don't forget to sprinkle a few mint leaves on top for an aromatic finish! For more inspiration on fruit pairings, check out BBC Good Food.
Enjoying with a Cup of Tea or Coffee
What better way to enjoy a slice of Raspberry Ripple Cake than alongside your favorite cup of tea or coffee? Whether you prefer a robust espresso or a soothing chamomile, the flavors of the cake will harmonize beautifully with your drink of choice. For a cozy afternoon treat, why not host a mini tea party? Invite your friends over, brew some tea, and serve up slices of cake for a delightful gathering! Want to elevate your tea game? Discover unique tea blends at Harney & Sons.
Time Breakdown for Raspberry Ripple Cake
Preparation Time
Getting all your ingredients ready for the Raspberry Ripple Cake takes about 30 minutes. This includes measuring, mixing, and prepping your cake tins. Lay everything out on your workspace, and you’ll be set for a smooth baking experience!
Baking Time
Once your batter is ready, pop those cakes in the oven at 180ºC (or 160ºC for fan ovens). They’ll need around 1 hour to bake thoroughly. Keep an eye on them and do the skewer test to ensure they are perfectly cooked.
Decorating Time
This is the fun part! Allow yourself 2 hours to decorate your cake. Take your time with the buttercream and enjoy creating a beautiful presentation with fresh raspberries. Don’t rush; the more love you put into this step, the better your cake will look and taste!
For more cake ideas and tips, check out Jane's Patisserie's other delicious recipes!
Nutritional Facts for Raspberry Ripple Cake
Calories
A slice of Raspberry Ripple Cake, roughly weighing 100 grams, contains about 410 calories. This makes it a delightful treat for special occasions but be mindful of serving sizes!
Sugar Content
With its luscious raspberry jam and sweet buttercream, the cake has about 40 grams of sugar per slice. If you're cutting back on sugar, consider reducing the jam or catering to a lighter frosting.
Dietary Considerations
If you’re planning to serve any guests with dietary restrictions, keep in mind that this cake is made with gluten and dairy. To cater to various needs, try using gluten-free flour or vegan butter alternatives. It's always nice to have options!
For more details on calorie intake and sugar moderation, you might check out resources like the Nutritional Guidelines from the USDA. Enjoy your baking and indulging!
FAQs about Raspberry Ripple Cake
Can I use frozen raspberries?
Absolutely! Using frozen raspberries is a great alternative, especially if fresh ones are out of season. Just make sure to thaw and drain them to avoid excess moisture in your Raspberry Ripple Cake. You can also fold them in gently to prevent them from disintegrating too much.
How to store Raspberry Ripple Cake?
To keep your delicious Raspberry Ripple Cake fresh, store it in an airtight container at room temperature. It can last up to 3-4 days this way. For longer storage, consider wrapping it tightly in plastic wrap and freezing it. Just remember to let it thaw in the fridge before enjoying!
What to do if my cake sinks in the middle?
If your Raspberry Ripple Cake sinks, don’t panic! It’s usually due to underbaking or too much liquid in the batter. To fix this in the future, ensure your oven temperature is accurate, and try adding a little extra flour if you're using a wet ingredient like raspberry coulis. If it does sink, you can always hide it under frosting or serve it as a trifle!
For more tips on baking, feel free to check out King Arthur Baking.
Conclusion on Raspberry Ripple Cake
Final Thoughts and Encouragement to Bake
Creating your own Raspberry Ripple Cake is more than just baking—it’s about crafting a delightful experience. Whether it’s for a special occasion or a weekend treat, this cake is bound to impress. So gather your ingredients, unleash your inner baker, and enjoy every bite of your delicious creation!
Raspberry Ripple Cake!
Equipment
- Stand Mixer
- 8" Cake tins
- Spatula
- Baking parchment
- Wire rack
Ingredients
Cake
- 400 g unsalted butter
- 400 g caster sugar
- 8 medium eggs
- 400 g self-raising flour
- 150 ml raspberry coulis
- 200 g raspberries
Buttercream
- 500 g unsalted butter room temp (not stork)
- 1000 g icing sugar
- 1 teaspoon white food colouring
- 0.5 teaspoon red food colouring
Decoration
- 150 g raspberry jam
- 15 g freeze dried raspberries
- 150 g fresh raspberries
Instructions
Cake
- Preheat the oven to 180ºC/160ºC fan, and line three 8"/20cm cake tins with baking parchment.
- In a stand mixer, or a large bowl, beat together the unsalted butter and caster sugar until light and fluffy.
- Add in the eggs, self raising flour and beat again until combined well.
- Add the raspberries and raspberry coulis and fold a couple of times to slightly combine the mixture.
- Split the mixture evenly between the three tins.
- Bake the cakes in the oven for 35+ minutes, or until baked through - check with a skewer to make sure they're done!
- Leave the cakes to cool in the tins for 10 minutes, and then take out and leave to cool fully on a wire rack.
Buttercream
- Beat your unsalted butter on its own for minute or two, to soften it and loosen it.
- Add in the icing sugar and beat well until smooth and fluffy.
- Add the white food colouring and beat until the colour has lightened.
- Remove 1 tablespoon worth of buttercream and add the red food colouring to it.
Decoration
- Put the first cake onto a cake board or plate. Add a little of the white buttercream and spread.
- Add half of the jam to the middle of the buttercream and spread slightly (but not right to the edges).
- Repeat with the second sponge!
- Using a small amount of the white buttercream, spread and smooth around the cake sides and top for a crumb coat and add to the fridge for at least 30 minutes.
- Once set, add more of the white buttercream onto the tops and sides of the cake, and smooth around covering the cake completely in buttercream.
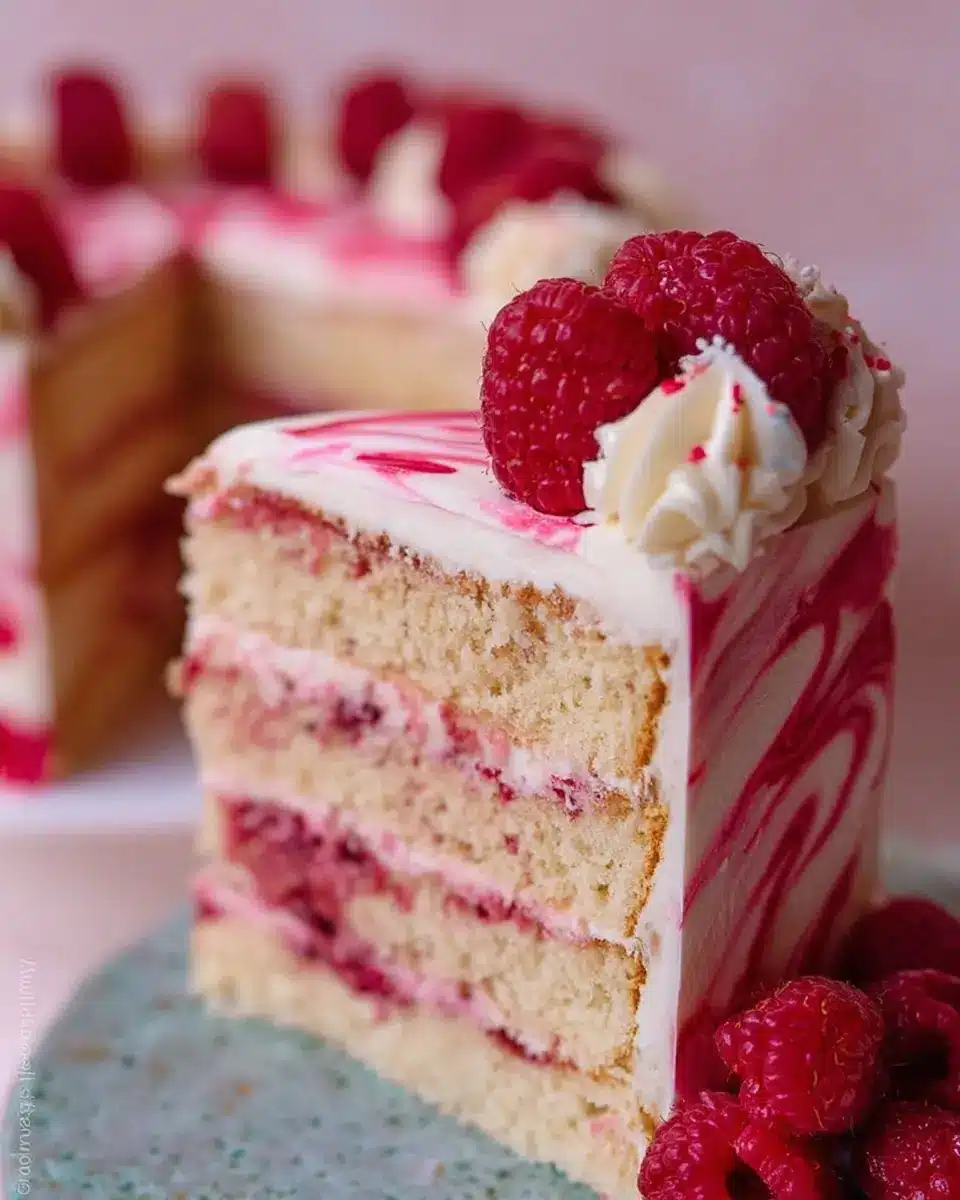
- Once smooth, carefully add small amounts of the red buttercream randomly on the sides of the cake, and smooth around again to create the smudge pattern.
- Finish the cake off by piping on any leftover buttercream on the top, and sprinkling on the freeze dried raspberries and fresh raspberries.
Leave a Reply