
Introduction to Lemon Cheesecake Bars
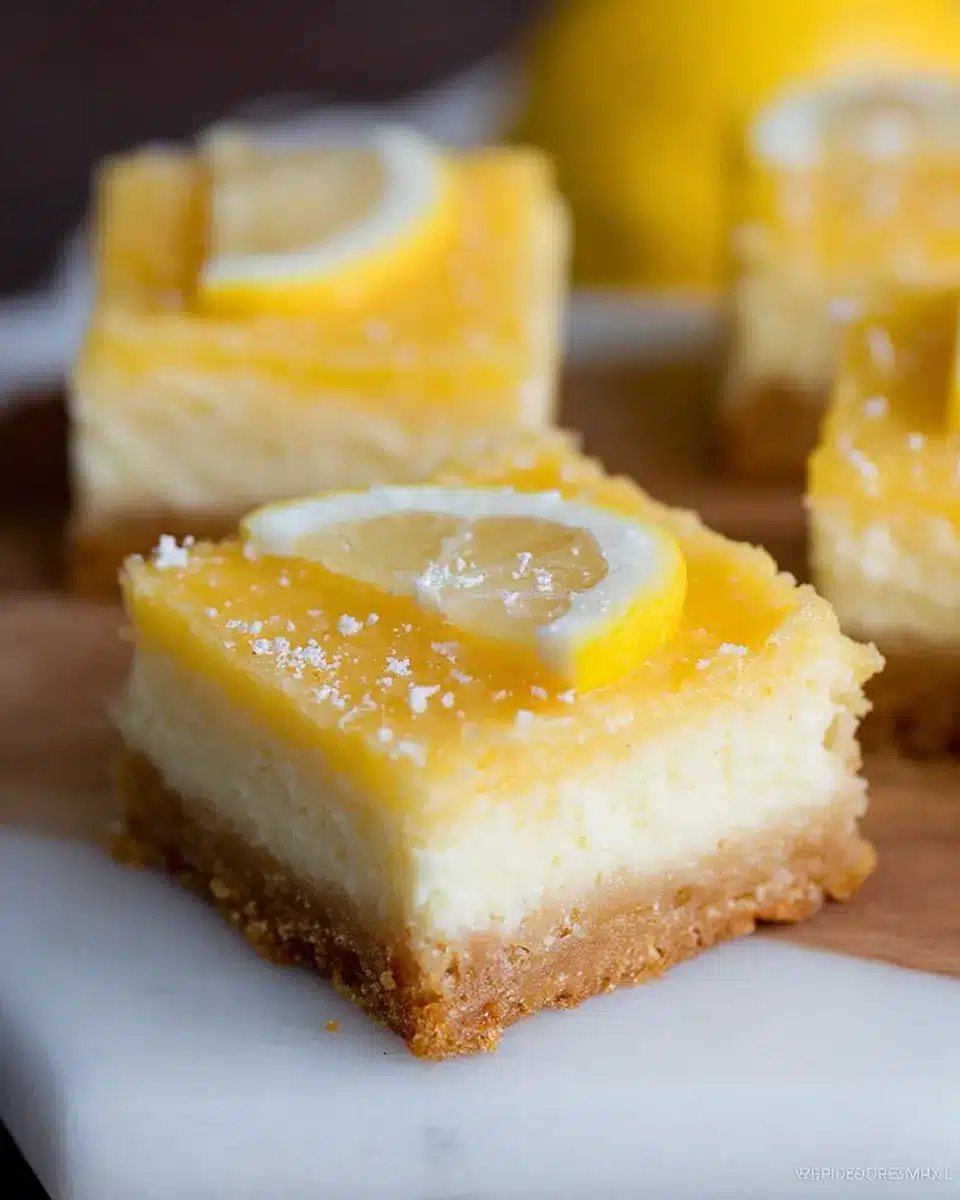
Lemon Cheesecake Bars are a delightful treat that perfectly marries sweetness with a zesty kick! If you're in search of a dessert that feels like sunshine on a plate, look no further. These bars are not only easy to make but are also designed for sharing—ideal for gatherings, potlucks, or simply enjoying on a cozy evening at home.
Why are lemon cheesecake bars the perfect dessert? For starters, they capture the essence of summer with their bright lemon flavor, making them a refreshing choice year-round. The light and creamy cheesecake contrasts beautifully with the buttery shortbread crust, creating a harmony of textures that is irresistibly satisfying. Plus, they cut neatly into squares, making portion control a breeze!
Another reason you’ll love these bars is their versatility. Whether you’re a novice baker or a seasoned pro, the easy-to-follow recipe will have you in and out of the kitchen in no time. And the best part? You can make them ahead of time or even freeze them for later enjoyment. Imagine indulging in a homemade treat that tastes like a slice of summer, even in the middle of winter!
For a closer look at the steps involved, stay tuned for the full recipe below.
Ingredients for Lemon Cheesecake Bars
Making Lemon Cheesecake Bars is a delightful experience, and understanding the ingredients is the first step! Here’s what you’ll need for each layer.
Shortbread Crust Ingredients
The base of our bars is a buttery, crumbly shortbread crust. For this, you’ll need:
- 1 cup all-purpose flour
- ¼ cup cornstarch (for that melt-in-your-mouth texture)
- ¼ cup white sugar (to add a hint of sweetness)
- ½ cup salted butter (bring on the richness!)
- 2 tablespoons grated lemon zest (for a fresh citrus twist)
Cream Cheese Layer Ingredients
Next comes the creamy layer, which is the heart of these bars:
- 1 package (8 oz) cream cheese, cubed (make sure it’s softened for easy mixing)
- ½ cup white sugar (for sweetness)
- 1 egg (just one for that perfect texture)
Lemon Layer Ingredients
Lastly, you can't have Lemon Cheesecake Bars without a zesty lemon layer:
- 4 extra-large eggs, room temperature (they'll blend in more smoothly)
- 1⅔ cups white sugar (to balance the tartness)
- ⅔ cup all-purpose flour (to help thicken the mix)
- ⅔ cup fresh lemon juice (juice from 2 to 3 large lemons for that bright flavor)
With these ingredients on hand, you're ready to create a dessert that’s both tangy and sweet! For tips on where to find the freshest lemons, check out this guide on nutritional benefits and sourcing.
Step-by-step preparation of Lemon Cheesecake Bars
Preheat and prepare the baking pan
Before diving into the making of Lemon Cheesecake Bars, it’s essential to set the stage. Start by preheating your oven to 350°F (175°C). This consistent heat will ensure even baking throughout the layers of your dessert. Next, grab a 9x9-inch baking pan and generously grease the bottom. To add an extra layer of security against sticking, cut a 9x9-inch square of parchment paper and lay it on top of the greased base. This little trick makes removing the bars so much easier once they set—trust me, you’ll thank yourself later!
Make the shortbread crust
The shortbread crust is what gives these Lemon Cheesecake Bars their delightful base. In a mixing bowl, combine 1 cup of all-purpose flour, ¼ cup of cornstarch, and ¼ cup of white sugar. Next, add ½ cup of softened salted butter and 2 tablespoons of grated lemon zest. If you’ve never used a pastry blender before, now’s your chance! Blend the mixture until it forms coarse crumbs—think of it as a fun stress-relieving task. Once you have a sandy consistency, press the dough firmly into the prepared pan. Bake for about 15 minutes, until it’s lightly browned and all your kitchen senses come alive with that buttery aroma.
Prepare the cream cheese layer
While the crust is baking, it’s the perfect time to whip up the cream cheese layer. In a stand mixer fitted with the paddle attachment, beat together 8 ounces of cubed cream cheese and ½ cup of white sugar until it’s light and creamy, usually around 3 to 4 minutes. Then, crack in an egg and beat until fully combined. Pour this luscious mixture over the warm crust, ensuring even coverage. The warmth of the crust will help the cream cheese layer set nicely—just what you want before adding that tangy lemon layer on top!
Prepare the lemon layer
Now comes the fun part: the lemon layer! In a separate bowl, whisk together 4 extra-large eggs (make sure they’re at room temperature for the best results), 1⅔ cups of white sugar, ⅔ cup of all-purpose flour, and ⅔ cup of freshly squeezed lemon juice. Once mixed, gently pour this mixture over the nearly set cream cheese layer, being careful not to disturb it. Wondering what makes this layer so special? It brings that perfect balance of sweetness and tartness that complements the creamy richness beneath, achieving dessert perfection.
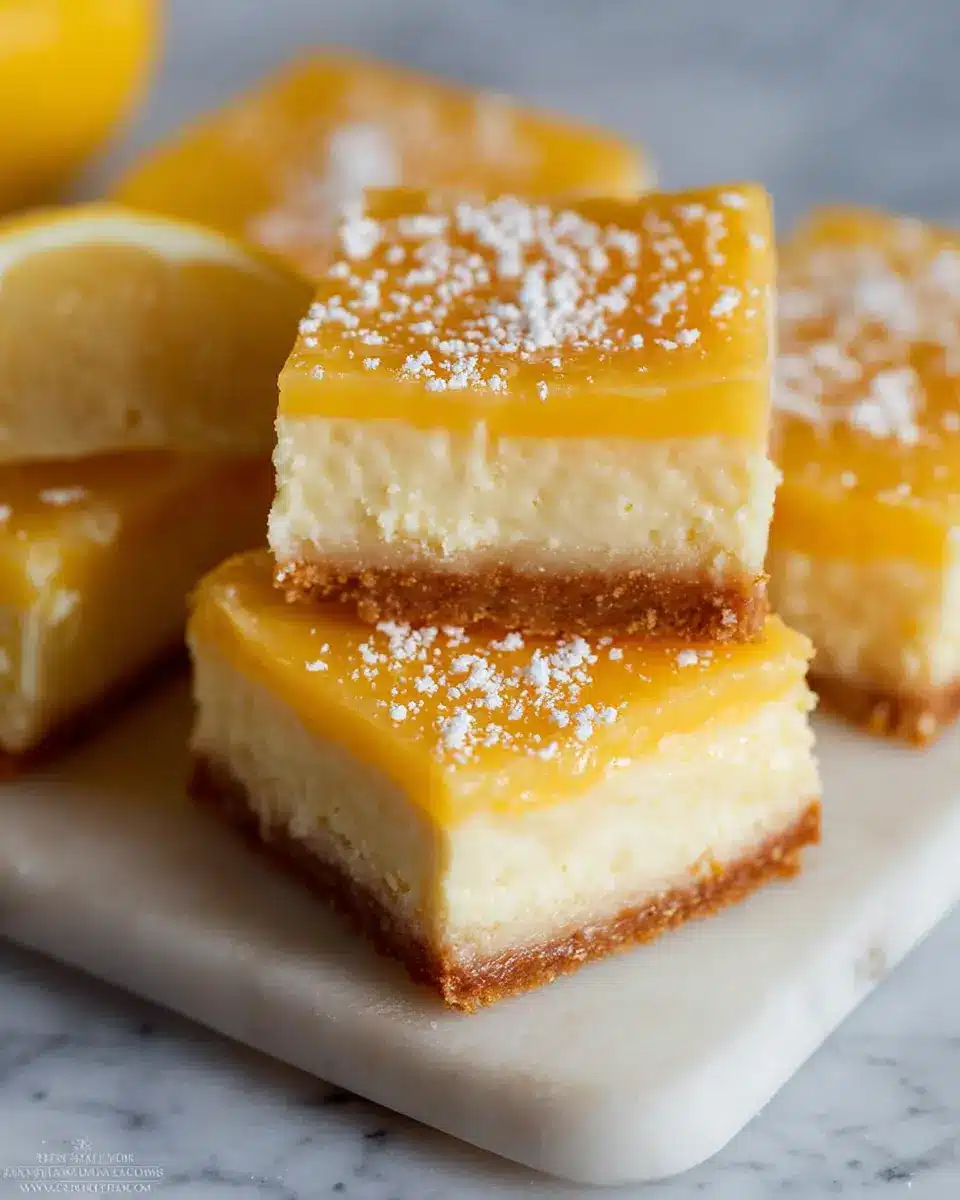
Bake and cool the layers
Return your pan to the oven for another 25 to 30 minutes. You’ll know it’s done once the filling is just set in the center and a light jiggle remains. After baking, let your Lemon Cheesecake Bars cool at room temperature before transferring them to the refrigerator. Timing is key here; allowing at least 3 hours for chilling helps the layers set completely for that perfect slice. Once set, sprinkle a little icing sugar on top, cut into squares, and serve. Store any leftovers in an airtight container for 2 to 3 days in the fridge, or freeze them for up to 3 months—if they last that long!
Variations on Lemon Cheesecake Bars
Adding Fruit Toppings
Personalizing your Lemon Cheesecake Bars is easy with some delicious fruit toppings! Consider fresh berries like strawberries, blueberries, or raspberries to add vibrant color and extra tang. For a tropical twist, try slices of kiwi or mango. Simply layer the fruit on top after the cheesecake has set, or create a fruity compote to drizzle over each serving. The sweet, bright flavors beautifully complement the creamy lemon filling.
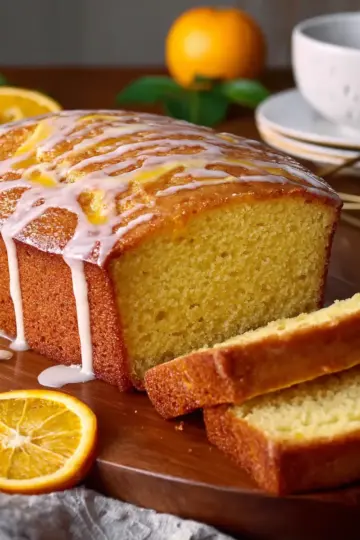
Swapping in Different Citrus Flavors
Don't feel limited to just lemon—get creative with your citrus selection! Instead of lemon juice, you can use lime, orange, or even grapefruit juice for a unique twist on these cheesecake bars. Each fruit brings its own zingy flavor profile, creating a slightly different experience while maintaining that creamy texture you love. Plus, the variety ensures a delightful surprise for your taste buds! Check out this citrus dessert guide for more inspiration!
Cooking Tips and Notes for Lemon Cheesecake Bars
How to Avoid a Soggy Crust
To keep your Lemon Cheesecake Bars from having a soggy crust, make sure to pre-bake the shortbread crust until it’s lightly golden. This initial baking helps to form a barrier, preventing the creamy filling from making the crust mushy. Also, avoid adding too much juice on top of the crust if your cream cheese layer isn’t fully set yet. If you’re looking for more detailed baking tips, check out King Arthur Baking.
Importance of Room Temperature Ingredients
Using room temperature ingredients, especially cream cheese and eggs, is crucial for achieving a smooth and creamy filling. Cold ingredients can lead to lumps in your mixture, which can affect the texture of your Lemon Cheesecake Bars. To speed up warming, you can leave the cream cheese out for about an hour, or you can microwave it in short bursts (10 seconds) until soft. This simple step can elevate your baking and ensure that every bite is heavenly.
Serving suggestions for Lemon Cheesecake Bars
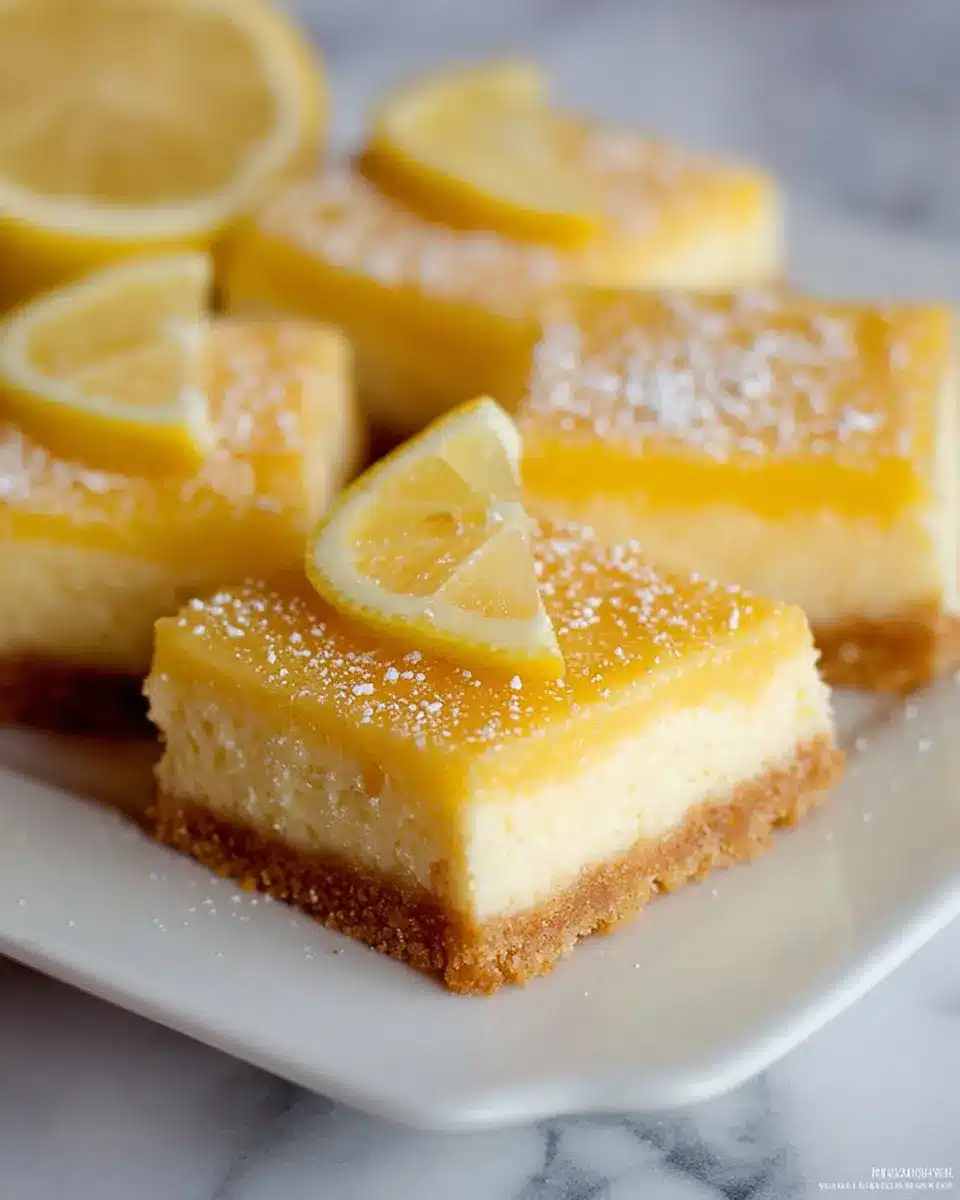
Presentation ideas
Elevate your Lemon Cheesecake Bars by presenting them on a vibrant serving platter or a rustic wooden board. Dust the top with a light sprinkling of powdered sugar for a touch of elegance. Garnish with fresh mint leaves or thin lemon slices for a pop of color. For special occasions, consider adding a few berries—like raspberries or blueberries—around the bars to create a delightful contrast.
Pairing with beverages
When it comes to pairing beverages with your Lemon Cheesecake Bars, consider refreshing options that complement the zesty flavor. Iced tea or sparkling water infused with lemon slices and mint can be a perfect match. For coffee lovers, a chilled latte or cold brew adds a rich, flavorful contrast. These pairings not only enhance the dessert's flavor profile but also make for a delightful dining experience. Enjoy!
Time Breakdown for Lemon Cheesecake Bars
Planning to make Lemon Cheesecake Bars? Here's a helpful overview of the time commitment involved in creating these delightful treats!
Preparation Time
Before you start baking, you'll need about 10 minutes to gather your ingredients and prepare the crust and filling.
Cooking Time
The baking process takes approximately 50 minutes. This includes time for baking the crust, cream cheese filling, and lemon layer to perfection.
Total Time
In just 1 hour, you can have your delicious Lemon Cheesecake Bars ready for the oven. Remember to allow for additional cooling and refrigeration time to let those flavors meld beautifully!
By understanding the time involved, you can easily fit this dessert into your busy schedule. Grab your ingredients, and let’s get baking! For more tips on baking times, check out King Arthur Baking's resources. Happy baking!
Nutritional Facts for Lemon Cheesecake Bars
Calories
Each delicious serving of Lemon Cheesecake Bars contains approximately 188 calories. This makes them a delightful treat you can enjoy without the guilt.
Sugar Content
With 20 grams of sugar per serving, these bars strike a balance between sweet and tart, thanks to the fresh lemon juice.
Other Nutritional Highlights
- Protein: 3 grams
- Fat: 8 grams
- Saturated Fat: 4 grams
- Carbohydrates: 28 grams
- Fiber: 1 gram
These Lemon Cheesecake Bars also provide a modest amount of vitamins and minerals, including Vitamin A and Calcium. A decadent dessert option that feels indulgent yet offers some nutritional value can be hard to find. For a deeper dive into nutrition, check out Harvard Health for insights on healthful eating.
FAQs about Lemon Cheesecake Bars
How can I store leftover lemon cheesecake bars?
To maintain their delightful flavor and texture, store your Lemon Cheesecake Bars in an airtight container in the refrigerator. They’ll stay fresh for about 2 to 3 days. If you're anything like me, they'll disappear quickly!
Can I freeze these cheesecake bars?
Absolutely! These Lemon Cheesecake Bars freeze beautifully. Just be sure to wrap them tightly in plastic wrap and then place them in a freezer-safe container. You can enjoy them for up to 3 months. Thaw in the fridge before serving for the best flavor.
What can I substitute for cream cheese?
If you need a cream cheese alternative, try using Greek yogurt, ricotta, or a dairy-free cream cheese option. Each of these can provide a unique flavor and texture while keeping your recipe delicious. Need more substitutions? Check out The Spruce Eats for more ideas!
Feel free to reach out with any other questions you might have! Enjoy your baking!
Conclusion on Lemon Cheesecake Bars
In summary, these Lemon Cheesecake Bars are a delightful blend of sweetness and tanginess perfect for any dessert occasion. Easy to prepare and ideal for make-ahead options, they will impress friends and family alike. Don’t forget to enjoy a piece with your favorite cup of tea!

Lemon Cheesecake Bars
Equipment
- oven
- 9x9-inch baking pan
- Pastry Blender
- Stand Mixer
Ingredients
Shortbread Crust
- 1 cup all-purpose flour
- 0.25 cup cornstarch
- 0.25 cup white sugar
- 0.5 cup salted butter
- 2 tablespoon grated lemon zest
Cream Cheese Layer
- 1 package cream cheese 8 oz, cubed
- 0.5 cup white sugar
Lemon Layer
- 4 extra-large eggs room temperature
- 1.67 cups white sugar
- 0.67 cup all-purpose flour
- 0.67 cup lemon juice from 2 to 3 large lemons
Instructions
Preparation
- Preheat the oven to 350°F. Grease a 9-inch x 9-inch baking pan.
- Cut out a 9-inch x 9-inch square of parchment paper and lay on top of the greased bottom of the pan.
- For the crust, use a pastry blender to combine the flour, cornstarch, sugar, butter, and lemon zest until the mixture is coarse crumbs, with the butter worked in. Press the dough into the greased baking pan, on top of the parchment paper. Bake for 15 minutes, until lightly browned. Remove and place the pan on a wire rack to cool slightly. Leave the oven switched on.
- For the cream cheese layer, fit a stand mixer fitted with the paddle attachment. Beat the cream cheese and sugar together until light and creamy, 3 to 4 minutes. Beat in the egg completely, then pour the mixture onto the warm crust. Return to the oven and bake for 10 to 15 minutes, until slightly set on top.
- For the lemon layer, whisk together all the ingredients by hand. Gently pour over the cream cheese layer, trying not to disturb it. Spread out the lemon in an even layer.
- Return to the hot oven and bake for another 25 to 30 minutes, until the filling is just set in the center.
- Cool at room temperature, then refrigerate uncovered to let the filling set completely. This should be refrigerated at least 3 hours, but more time may be needed.
- Sprinkle with icing sugar if desired. Slice into squares to serve.
- These can be stored in an airtight container for 2 to 3 days in the refrigerator, or frozen in a freezer-safe container for up to 3 months.

Leave a Reply