
Introduction to Homemade Crunch Bars
What’s the Story Behind Homemade Crunch Bars?
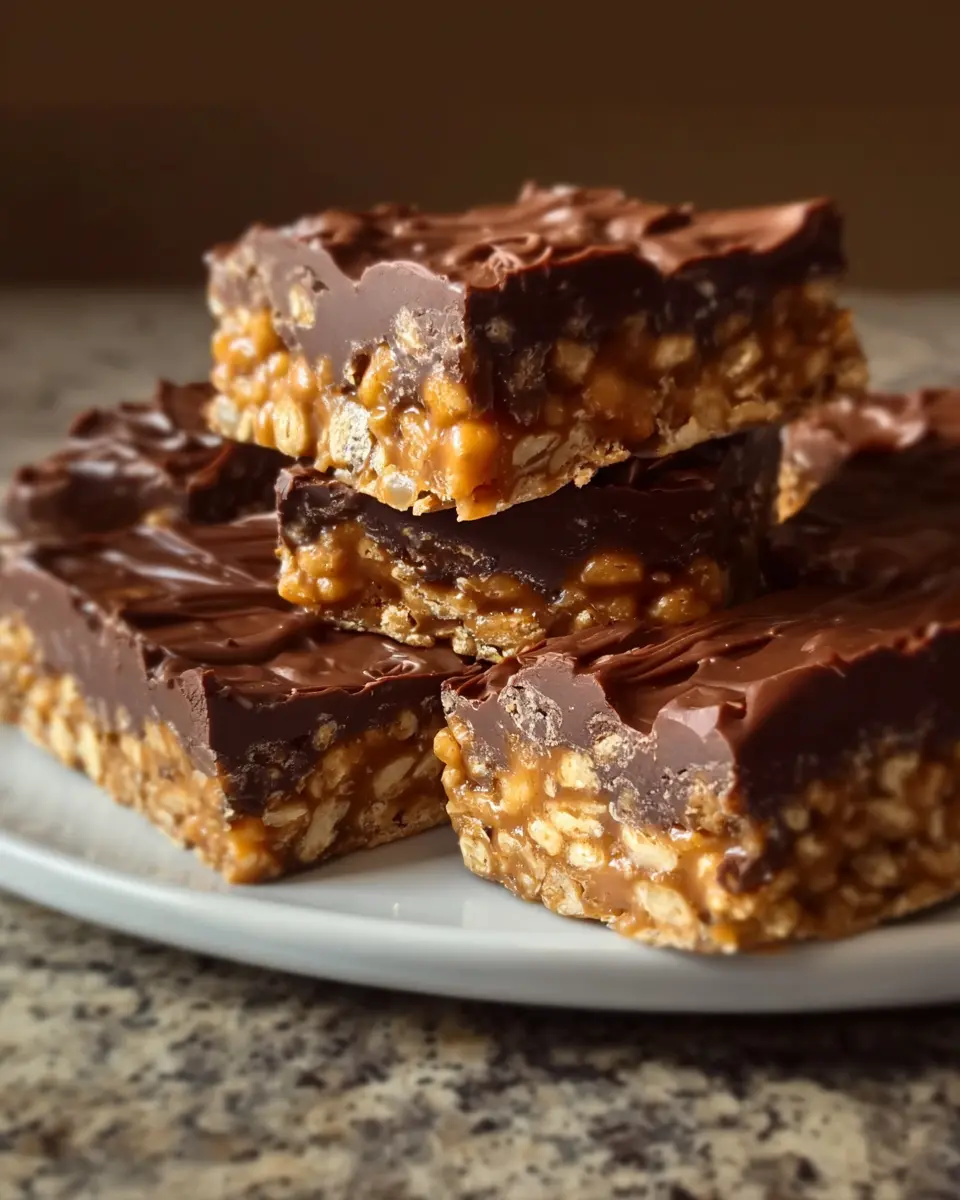
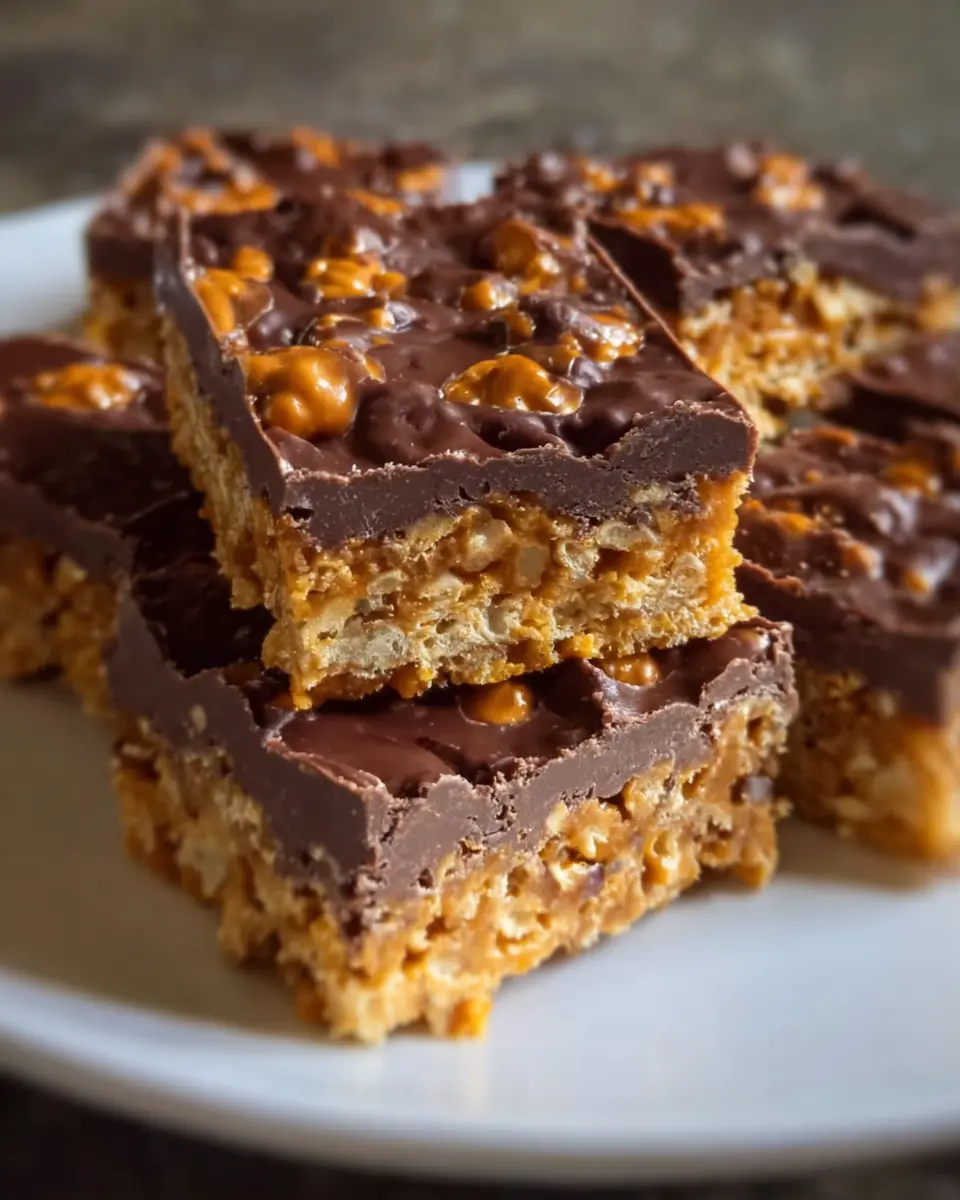
Ah, Homemade Crunch Bars—a delightful treat that transports many of us back to our childhood kitchens! These bars combine the rich appeal of chocolate with the crispiness of rice cereal, forming a sweet snack that captures the essence of simplicity and nostalgia.
Originating from classic snack recipes, they are reminiscent of the famous Rice Krispie Treats but elevate the experience with chocolate and peanut butter. As a kid, I loved the joy of creating these with family, mixing ingredients and indulging in the delicious outcome.
In recent times, a surge in homemade snacks has taken center stage, especially as more people seek recipes that not only cater to their dietary preferences but are also fun to make. This trend embraces the joy of cooking—from choosing quality ingredients to perfecting that satisfying crunch. If you’re curious to learn more about the benefits of homemade snacks, you can check out resources from Harvard Health or The New York Times Cooking.
So, if you’re ready to sprinkle a little sweetness into your day, let’s dive into making these incredible crunch bars that are perfect for gatherings or simply satisfying a sweet tooth!
Ingredients for Homemade Crunch Bars
Creating your own Homemade Crunch Bars is not only fun but also incredibly easy with just a handful of wholesome ingredients. Here’s what you’ll need to gather before diving into the deliciousness:
- 1 cup chocolate chips (choose semi-sweet for a classic flavor or dark for a richer taste)
- 1 cup crunchy rice cereal (this is what gives your bars that satisfying crunch)
- ½ cup peanut butter (creamy or crunchy, depending on your preference)
- ¼ cup honey (for a touch of natural sweetness)
- ½ teaspoon vanilla extract (because vanilla makes everything better!)
When picking your ingredients, consider opting for halal-certified chocolate and peanut butter. With these five simple items, you’ll create a treat that transports you back to carefree childhood days filled with delightful snacks and laughter. Ready to make your very own Homemade Crunch Bars? Let’s get cooking! For more tips on ingredient selection, check out this guide on simple swaps for baking.
Step-by-Step Preparation for Homemade Crunch Bars
Creating Homemade Crunch Bars is a delightful process that brings together simple ingredients and steps to yield a treat that everyone will love. Let’s break it down step-by-step, ensuring you have a smooth cooking experience.
Gather Your Ingredients
To kick things off, you’ll need to gather all the essential ingredients. Here's what you’ll require:
- 1 cup chocolate chips (choose semi-sweet or dark based on your preference)
- 1 cup crunchy rice cereal
- ½ cup peanut butter (creamy or crunchy)
- ¼ cup honey
- ½ teaspoon vanilla extract
Having everything ready before you start will make the process much easier and more enjoyable. Plus, this can help ensure you don't forget any key elements!
Melt the Chocolate and Peanut Butter
Next, let’s melt the chocolate and peanut butter. Grab a microwave-safe bowl and combine the chocolate chips and peanut butter. Heat them in the microwave in 30-second intervals, stirring in between. This helps prevent burning and ensures a lovely, smooth consistency that’s perfect for mixing.
Add Honey and Vanilla Extract
Once your chocolate-peanut butter mixture is melted and combined, it’s time for the sweet touches! Stir in the honey and vanilla extract. These additions not only enhance the flavor but also provide the perfect amount of sweetness to your Homemade Crunch Bars. Make sure you mix thoroughly to integrate these flavors well.
Mix in the Crunchy Rice Cereal
In a larger mixing bowl, pour in your crunchy rice cereal. Then, take the melted chocolate-peanut butter mixture and pour it over the cereal. Gently fold the ingredients together using a spatula or wooden spoon. You want each piece of cereal to get that glorious coating!
Prepare the Baking Dish
Now, let’s prepare your baking dish. Line an 8×8-inch dish with parchment paper. This not only makes for easy removal later but also minimizes cleanup. Transfer your crunchy mixture into the dish and press it down firmly to create an even layer. A compact mixture yields better bars!
Chill Until Set
Time to be patient! Place your baking dish in the refrigerator and let it chill for about 1-2 hours. This step allows your Homemade Crunch Bars to set, ensuring that they hold their shape when sliced.
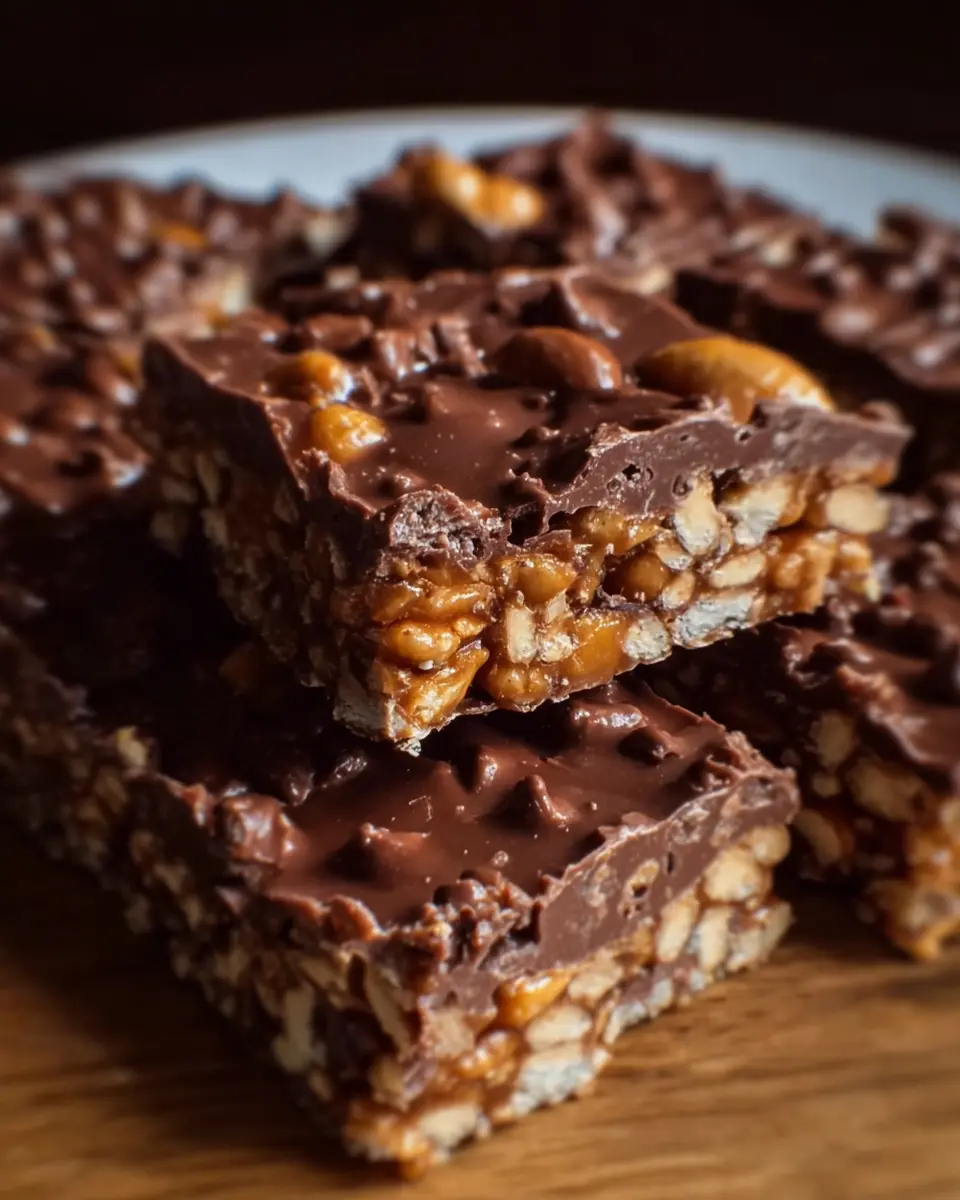
Slice and Serve
Once your bars are nicely chilled and firm, carefully lift them out of the dish using the parchment paper overhang. Place them on a cutting board and slice them into squares or rectangles, depending on your preference. Serve them to friends and family or keep them for your snacking pleasure!
Homemade treats like these always spark joy and can even lead to conversations about childhood favorites or new family traditions. Enjoy the process and the delightful rewards at the end!
Variations on Homemade Crunch Bars
Chocolate Almond Crunch Bars
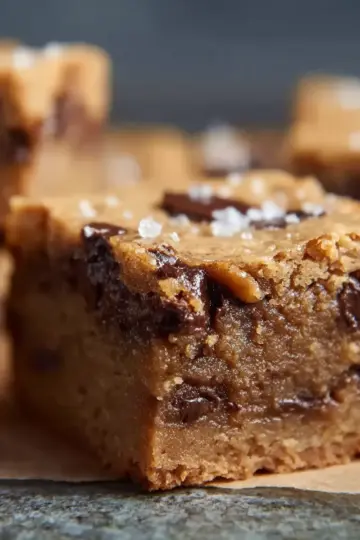
Elevate your Homemade Crunch Bars with a delightful twist by adding chopped almonds or almond butter. When you mix these into your chocolate-peanut butter blend, they deliver an incredible nutty flavor that pairs perfectly with the sweetness of the chocolate. Try topping your bars with a sprinkle of sea salt and drizzled dark chocolate for an upscale treat that’s sure to impress friends or family.
Nut-Free Crunch Bars
If you’re looking for a nut-free option, substitute sunflower seed butter for the peanut butter in your homemade bars. Not only does it offer a similar creamy texture, but it also keeps the bars allergy-friendly without compromising on flavor. You could even add in your favorite dried fruits or seeds to enhance flavor and crunch while creating a wholesome snack igniting everyone’s taste buds!
Cooking Tips and Notes for Homemade Crunch Bars
Substitutions You Can Make
Feel free to get creative! Swap out the peanut butter for almond butter or sunflower seed butter if allergies are a concern. You can also use dark chocolate for a richer flavor or try adding a sprinkle of sea salt on top for that sweet-salty contrast. Craving extra texture? Toss in some nuts or dried fruits for a delightful twist!
Common Mistakes to Avoid
One of the biggest pitfalls is not pressing the mixture firmly enough in your pan; loose bars can crumble apart. Remember to keep an eye on the chocolate while melting—it burns easily! Don’t skip the chilling step either; it helps the bars set properly. By avoiding these missteps, you’ll enjoy perfectly formed Homemade Crunch Bars every time.
Serving Suggestions for Homemade Crunch Bars
Perfect Pairings
When enjoying your Homemade Crunch Bars, consider pairing them with:
- Fresh Fruit: Sliced bananas or strawberries add a refreshing touch.
- Nut Butter Dip: A side of almond or cashew butter can enhance the flavor.
- Milk or Plant-Based Alternatives: These bars are delightful alongside a cold glass of almond milk or your favorite dairy option.
Creative Serving Ideas
Impress your guests by serving Homemade Crunch Bars in fun ways:
- Dessert Platter: Cut them into bite-sized squares and arrange them alongside other snacks.
- Ice Cream Topping: Crumble them over vanilla ice cream for a crunchy twist on dessert.
- Giftable Treats: Wrap individually in parchment paper and tie with twine for a charming, homemade gift.
With these serving suggestions, your homemade treats are sure to be a hit! For more ideas, explore Food Network's dessert recipes for inspiration.
Time Breakdown for Homemade Crunch Bars
Preparation time
Getting started on your Homemade Crunch Bars takes about 10-15 minutes. This includes the time for melting ingredients and combining everything beautifully.
Chilling time
Once mixed, the bars need some time to chill in the refrigerator. Set aside 1-2 hours for them to firm up perfectly.
Total time
In total, you’re looking at around 1-2 hours and 15 minutes from start to finish. This makes them an excellent option for a quick treat that you can whip up in no time!
If you're interested in quick recipes like these, check out this resource for more delightful ideas!
Nutritional Facts for Homemade Crunch Bars
Calories
Each Homemade Crunch Bar contains approximately 180 calories. This makes them a great option for a tasty snack without the guilt.
Protein
With about 4 grams of protein per bar, the combination of peanut butter and chocolate helps keep you feeling satisfied and fuelled throughout your day.
Sugar
These delightful treats have around 9 grams of sugar, thanks to the honey and chocolate. While they indulge your sweet tooth, remember that moderation is key for a balanced diet.
For more insights on nutritional values and healthier snack options, check out the American Heart Association or Nutrition.gov.
FAQs about Homemade Crunch Bars
Can I use different types of nut butter?
Absolutely! Homemade Crunch Bars are incredibly versatile. While peanut butter is a classic choice, feel free to swap it for almond butter, cashew butter, or sunflower seed butter for a nut-free version. Each will lend its unique flavor while still delivering that delightful crunch. Just be sure to choose a nut butter you love!
How do I store Homemade Crunch Bars?
To keep your Homemade Crunch Bars fresh and delicious, store them in an airtight container at room temperature for up to a week. If you prefer them chilled, they can also go in the refrigerator for up to three weeks.
How long do Homemade Crunch Bars last?
With proper storage, your Homemade Crunch Bars can last. They typically stay fresh for about one week at room temperature or two to three weeks in the fridge. Additionally, if you want to make a big batch, they freeze well for up to three months! Just wrap them in parchment paper before placing them in a freezer-safe bag for easy access later.
For tips on freezing snacks effectively, check out this guide.
Conclusion on Homemade Crunch Bars
In conclusion, Homemade Crunch Bars are the perfect blend of simplicity and indulgence. With their delightful crunch and creamy chocolate goodness, these bars are sure to become a beloved treat in your home. Enjoy experimenting with flavors, and don’t forget to share the love—your friends and family will thank you!

Homemade Crunch Bars
Equipment
- microwave-safe bowl
- Spatula
- 8x8-inch Baking Dish
- Parchment paper
- large mixing bowl
Ingredients
Main Ingredients
- 1 cup chocolate chips (semi-sweet or dark) Use halal-friendly options.
- 1 cup crunchy rice cereal
- ½ cup peanut butter (creamy or crunchy) Use halal-friendly options.
- ¼ cup honey
- ½ teaspoon vanilla extract
Instructions
Preparation Steps
- In a microwave-safe bowl, combine the chocolate chips and peanut butter. Heat in the microwave at 30-second intervals, stirring in between until everything is smoothly melted and combined.
- Stir in the honey and vanilla extract into the melted mixture, ensuring everything is incorporated well.
- In a large mixing bowl, add the crunchy rice cereal, then pour the melted chocolate-peanut butter mixture over it. Using a spatula, gently fold the cereal until it’s fully coated.
- Line an 8×8-inch baking dish with parchment paper, leaving some overhang for easy removal. Transfer the mixture into the prepared dish and press it down firmly to create an even layer.
- Place the baking dish in the refrigerator for about 1-2 hours or until set.
- Once the mixture is firm, remove it from the pan using the parchment paper overhang. Cut into squares and enjoy your delicious homemade crunch bars!


Leave a Reply