
Introduction to Homemade Walnut Milk
If you're a young professional juggling a busy schedule, you know how challenging it can be to eat healthfully while on the go. Enter homemade walnut milk—a delightful and nourishing alternative to store-bought options. Not only is it incredibly simple to make, but it also offers a host of benefits that make it a game changer for your lifestyle.
Why Homemade Walnut Milk is a Game Changer for Young Professionals
One major perk of homemade walnut milk is the freshness factor. Unlike most packaged nut milks that can contain additives and preservatives, making it at home ensures you're getting pure, wholesome ingredients. In just 15 minutes, you can whip up a creamy, rich beverage that’s perfect for your coffee, smoothies, or even just drinking straight.
Moreover, walnuts are packed with nutrients. They contain healthy fats, protein, and antioxidants, making this milk not just a tasty treat, but a boost to your overall well-being. Imagine sipping on something that can improve your brain function and heart health while fitting snugly into your morning routine—sounds pretty ideal, right?
With this easy recipe, you can not only save money but also customize your milk just the way you like it. Let’s dive into how you can make your own homemade walnut milk and transform your daily sip!
Ingredients for Homemade Walnut Milk
Essential ingredients for a creamy walnut milk
To create your own homemade walnut milk, you only need a few simple ingredients that deliver a rich, creamy texture. Here’s what you’ll need:
- 1 cup walnuts: Opt for raw walnuts, as they provide a delightful nuttiness. They’re packed with healthy fats and nutrients, making this milk a nutritious choice.
- 3 cups water: This is the base that helps blend everything together nicely. Adjust the amount depending on how thick or thin you like your milk.
- 1 pinch salt (about ⅛ tsp): Salt enhances the flavor, balancing the nuttiness of the walnuts perfectly.
Optional add-ins to elevate the flavor
While the essential ingredients are fantastic on their own, consider these optional add-ins for a more personalized touch:
- 1-2 teaspoons vanilla extract: A splash of vanilla adds a lovely sweetness and aroma.
- 1-2 tablespoons honey, dates, or maple syrup: Sweeten your milk to taste with your favorite natural sweetener, creating a custom flavor profile that you'll love.
Feel free to experiment with these ingredients to find your ideal walnut milk blend!
Step-by-Step Preparation of Homemade Walnut Milk
Making homemade walnut milk is not only natively delicious, but it also opens the door to a variety of nutritious adventures each day. Let’s dive into the simple steps that will take you from a handful of walnuts to a creamy, dreamy plant-based milk.
Gather Your Ingredients and Tools
Before you start, it’s key to ensure you have everything you need. Here’s what you’ll require:
-
Ingredients:
-
1 cup of walnuts
-
3 cups of water
-
1 pinch of salt (about ⅛ tsp)
-
Optional Ad-Ins:
-
1-2 teaspoons of vanilla extract
-
1-2 tablespoons of honey, or you can substitute with dates or maple syrup
-
Tools:
-
A small pot
-
A high-speed blender
-
A nut milk bag or a fine mesh strainer
-
Glass jars for storage
Make sure you have everything handy so that the process goes smoothly!
Boil and Soften the Walnuts
First things first: add your walnuts to a small pot and cover them with water. You're going to bring this mixture to a boil. Once boiling, reduce the heat and let them simmer for about 5-10 minutes. This step is vital as it softens the walnuts, ensuring a smoother texture for your milk.
Rinse and Strain the Walnuts
After they’ve boiled, it’s time to drain and rinse the walnuts in cold water. This not only washes away any bitterness but also helps to improve the flavor of your homemade walnut milk. Rinse until the water runs clear for the best results.
Blend to Creamy Perfection
Now, toss your rinsed walnuts into a high-speed blender along with 3 cups of fresh water and a pinch of salt. If you’re feeling adventurous, add your optional ingredients like vanilla or honey at this stage. Blend everything together on high for about one full minute. You want to achieve a creamy texture that’s completely smooth!
Strain Through a Nut Milk Bag or Fine Mesh Strainer
Once you’ve blended, the next step is to strain the mixture. If you have a nut milk bag, that’s ideal for filtering out the pulp. Alternatively, you can use a fine mesh strainer, which may require straining 2-3 times until little pulp remains. This step is key in achieving that silky smooth finish in your walnut milk.
Store Your Walnut Milk
Finally, transfer your freshly made homemade walnut milk into glass jars. Seal them and store in the fridge. Your delicious, creamy milk will stay good for about three days. Remember to shake it well before each use, as natural nut milks can separate.
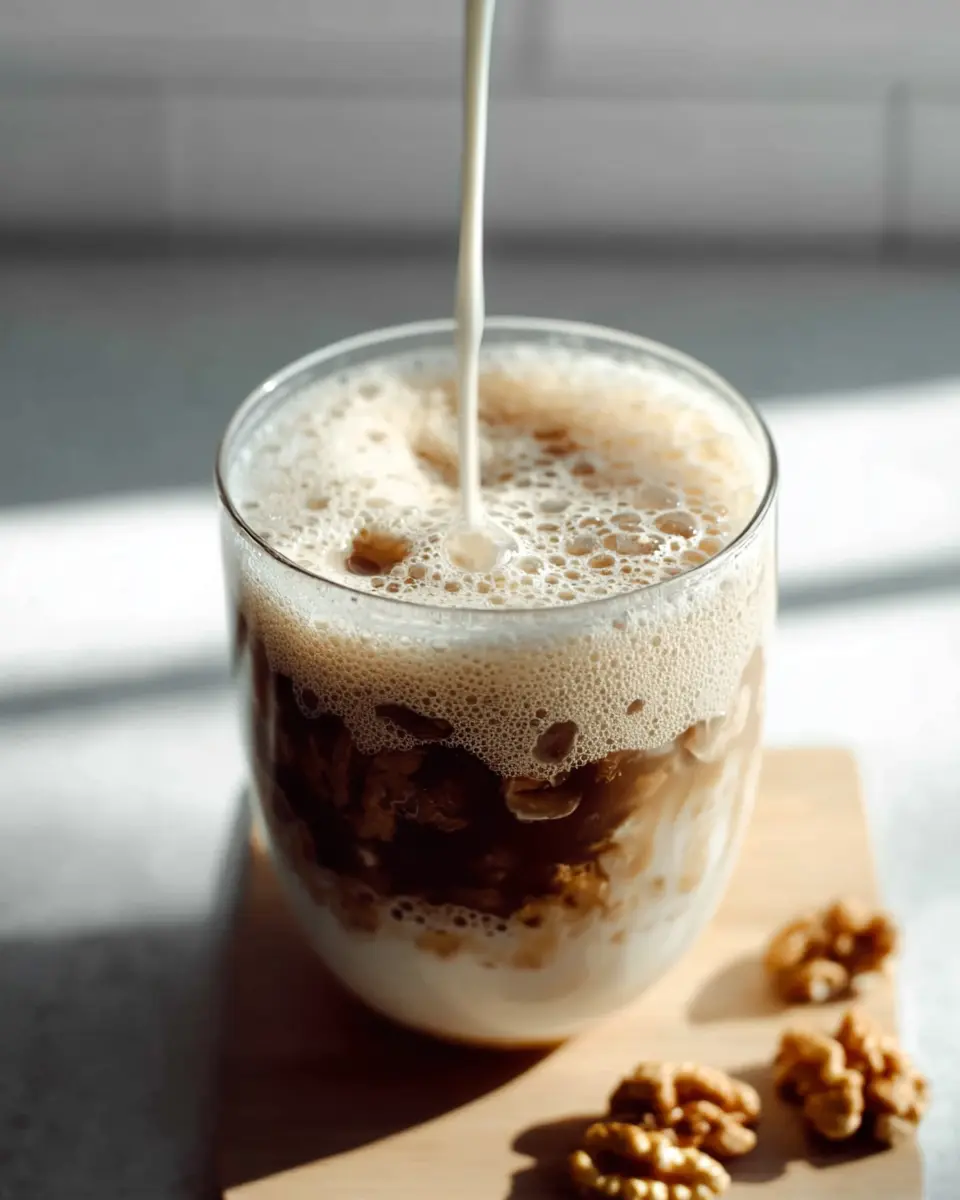
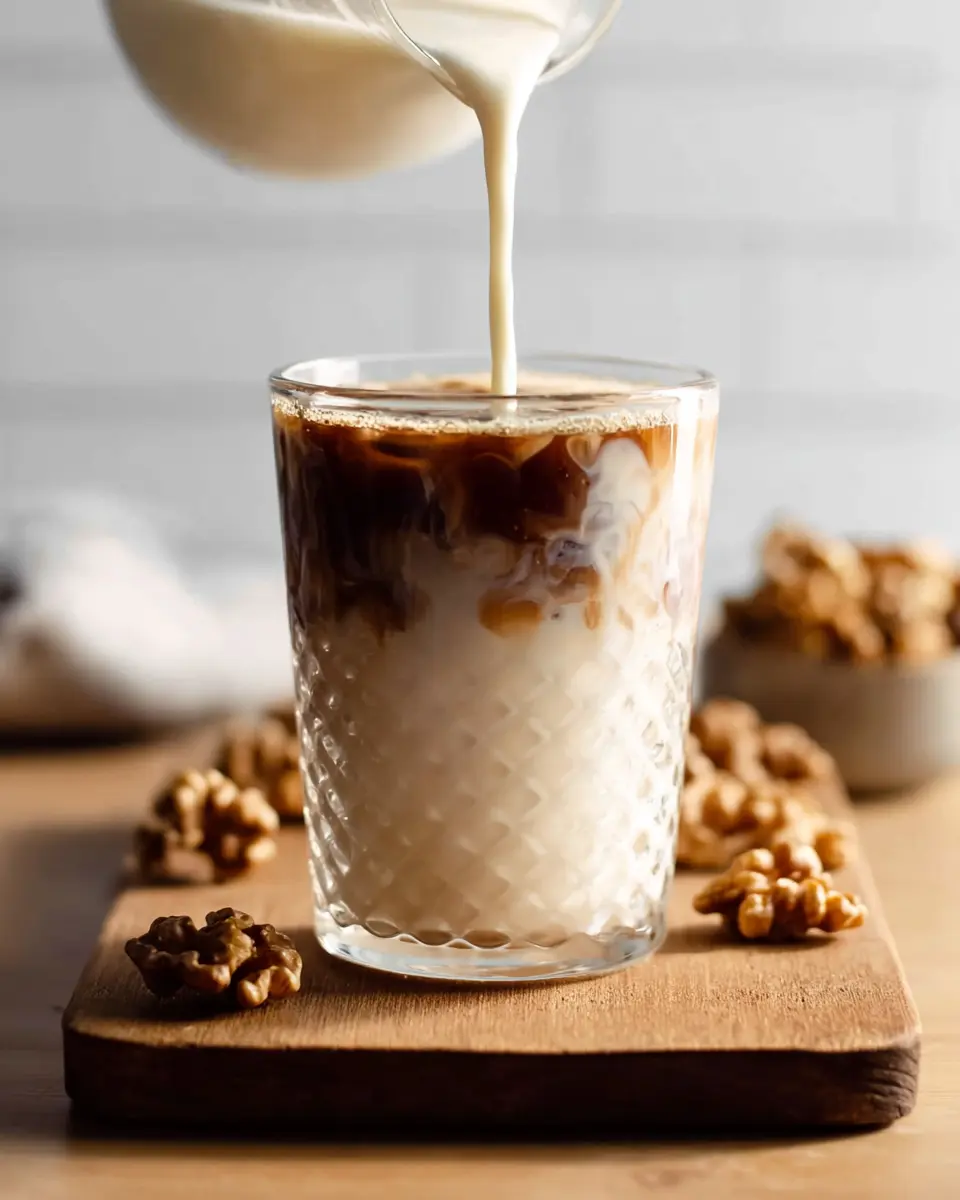
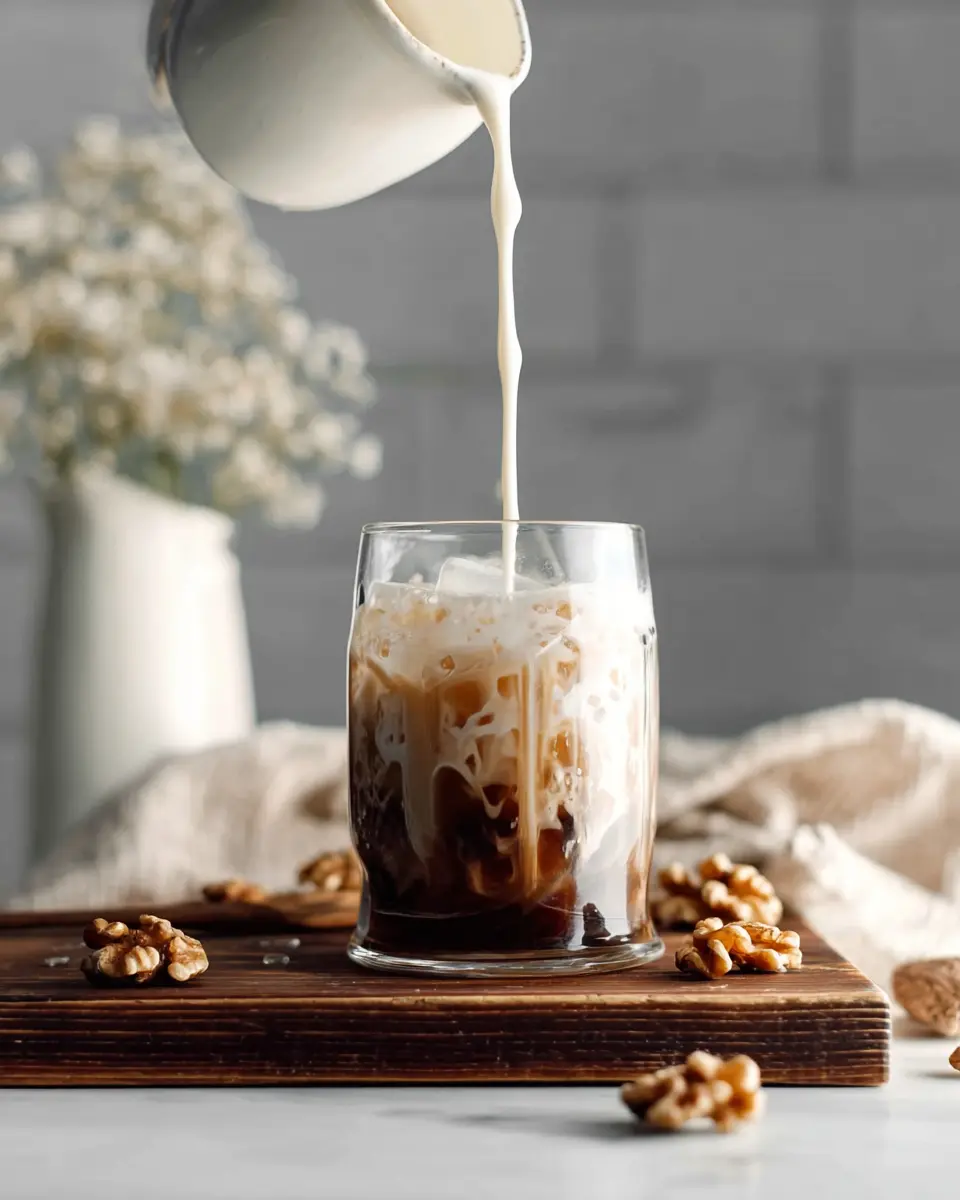
Enjoy your walnut milk in smoothies, coffee, cereal or even on its own—it's versatile and delicious! Making your own milk not only saves money but also allows you to enjoy a fresher, healthier alternative to store-bought versions. So go ahead, give this easy recipe a try and savor the delightful experience of homemade walnut milk!
Variations of Homemade Walnut Milk
Sweetened Walnut Milk with Honey or Dates
For those with a sweet tooth, adding a touch of honey or dates to your homemade walnut milk can elevate its flavor profile. Just 1-2 tablespoons can make a significant difference, creating a delightful, naturally sweet taste that pairs beautifully with coffee or cereal. If you prefer to keep things refined sugar-free, opt for medjool dates, which blend beautifully into the mix and provide added fiber.
Vanilla-Infused Walnut Milk for a Special Touch
Looking to add a special touch to your walnut milk? Incorporating 1-2 teaspoons of vanilla extract during blending can transform your drink into a creamy, aromatic delight. This simple addition enhances the nutty flavor and works wonders in smoothies or as a standalone treat, satisfying your cravings while providing a nutritional boost. For an extra kick, consider also adding some cinnamon or nutmeg!
Cooking Tips and Notes for Homemade Walnut Milk
Importance of Fresh Ingredients
When making homemade walnut milk, the quality of your ingredients can make a significant difference. Opt for fresh, raw walnuts instead of pre-packaged ones; they have a richer flavor and creamier texture. For optimal taste, you might even consider buying walnuts from local farmers' markets or organic stores. Fresh ingredients not only elevate your drink but also offer more nutrients, making your walnut milk healthier and more delicious.
How to Handle Leftover Pulp
After straining your homemade walnut milk, don’t throw away the leftover pulp! This nutrient-dense byproduct can be a fantastic addition to smoothies, oatmeal, or even baked goods like muffins and pancakes. Simply store it in an airtight container in the fridge for up to three days. For longer storage, consider freezing it in small portions, ensuring you get the most out of your walnut creation. Why waste it when you can use it creatively in your next recipe?
Serving Suggestions for Homemade Walnut Milk
Enjoying Walnut Milk in Coffee or Smoothies
Start your day off right by incorporating homemade walnut milk into your morning coffee. Its rich, nutty flavor adds a delightful twist to your brew. Blend it into your favorite smoothie for an extra dose of creaminess and a nutrient boost. A mix of bananas, spinach, and nut butter pairs perfectly with this milk, creating a breakfast that's both delicious and energizing!
Creative Uses in Breakfast Cereals
Switch up your typical breakfast routine by pouring homemade walnut milk over your favorite cereal or granola. The distinct flavor enhances the overall taste, elevating your simple breakfast into something special. You can also use it in overnight oats—combine rolled oats with walnut milk and your choice of toppings for a quick, satisfying start to your day. Explore more about incorporating walnuts into your diet here.
Time Breakdown for Homemade Walnut Milk
Preparation time: 5 minutes
This quick phase involves gathering your ingredients and preparing the walnuts. Simply measure out your walnuts, and you’re almost halfway there!
Cooking time: 10 minutes
Cook the walnuts briefly to get them nice and soft. A quick boil followed by simmering is all it takes to make them blend smoothly.
Total time: 15 minutes
In just 15 minutes, you can whip up a delicious batch of homemade walnut milk! Perfect for your morning coffee or as a nutritious base for smoothies. Want to make it even easier? Grab a nut milk bag for smooth straining!
Enjoy the process and the creamy results!
Nutritional Facts for Homemade Walnut Milk
Caloric Content and Macronutrient Breakdown
Homemade walnut milk is a nutrient-rich choice, with just 154 calories per cup. The macronutrient breakdown includes:
- Carbohydrates: 4g
- Protein: 4g
- Fat: 19g (of which 2g are saturated fats)
- Fiber: 2g
- Sugar: 1g
This makes it a low-carb, high-fat option perfect for anyone seeking healthier alternatives.
Health Benefits of Walnuts
Incorporating walnuts into your diet can have numerous health benefits. Packed with antioxidants and omega-3 fatty acids, walnuts may support heart health, improve brain function, and reduce inflammation. Plus, they boast protein and fiber, making your homemade walnut milk a nourishing addition to smoothies or morning oats. For a deeper dive into walnut nutrition, check out this resource from Healthline.
By blending walnuts into milk form, you maintain many of these vital benefits, enhancing your overall wellness!
FAQs about Homemade Walnut Milk
How long does homemade walnut milk last?
Once you've blended your delicious homemade walnut milk, it will stay fresh for about three days in the refrigerator. Since this milk doesn’t contain preservatives like store-bought varieties, it's best enjoyed fresh. When you make it, consider just preparing enough for a few days to keep that creamy texture and flavor at its peak!
Can I use other nuts for milk alternatives?
Absolutely! While this recipe focuses on walnuts, feel free to experiment with a variety of nuts like almonds, cashews, or pecans. Each nut brings its own unique flavor and creaminess, making your homemade nut milks versatile for different dishes and drinks.
What dishes pair well with walnut milk?
Homemade walnut milk is incredibly versatile. It’s lovely in smoothies, cereals, or paired with coffee for a rich, nutty twist. You can even use it in creamy sauces or soups to add depth to your meals. The options are endless—let your culinary creativity run wild! For more delicious pairings, check out our smoothie recipes.
Conclusion on Homemade Walnut Milk
In summary, making homemade walnut milk is a quick and rewarding process that elevates your everyday beverages. With minimal ingredients and no soaking required, you can enjoy a creamy nut milk that's fresh and free from additives. Experiment with flavors, and enjoy the delicious benefits of walnuts in your diet!

Homemade Walnut Milk
Equipment
- small pot
- high-speed blender
- nut milk bag
- fine-mesh strainer
Ingredients
Walnut Milk Ingredients
- 1 cup walnuts for best flavor
- 3 cups water plus additional for boiling
- 1 pinch salt about ⅛ tsp
- 1-2 teaspoons vanilla extract optional
- 1-2 tablespoons honey can also use dates or maple syrup
Instructions
Walnut Milk Instructions
- Add the walnuts to a small pot and cover with water.
- Bring to a boil, then let simmer for 5-10 minutes to allow the walnuts to soften.
- Strain and rinse well until the water runs clear.
- Add to a high speed blender with the water, salt and any optional ad-ins.
- Blend until completely smooth, about 1 full minute.
- Use a nut milk bag to strain once or run through a fine mesh strainer 2-3 times until little pulp remains.
- Transfer to glass jars and store in the fridge.


Leave a Reply