
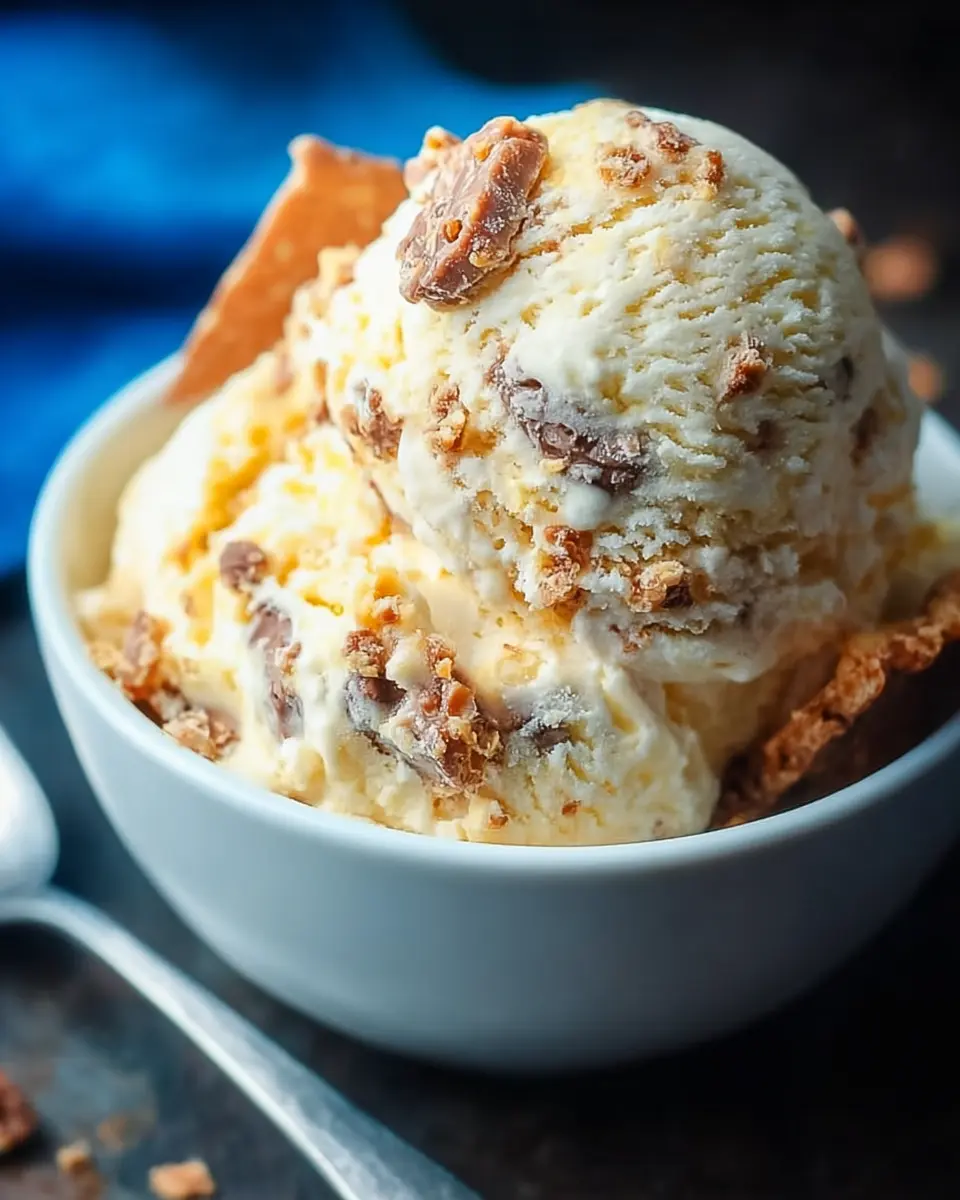
Introduction to Homemade Butterfinger Ice Cream
Creating your own Homemade Butterfinger Ice Cream opens up a world of flavor and fun. Picture this: creamy, luscious vanilla ice cream swirled with irresistible chunks of Butterfinger bars. Not only does it satisfy your sweet tooth, but it also gives you control over ingredients, ensuring that you know exactly what’s going into each scoop.
Why Homemade Ice Cream is Worth the Effort
You might be wondering, is it really worth the hassle of making ice cream from scratch? The answer is a resounding yes! Homemade ice cream tends to be richer and creamier since it doesn't rely on the stabilizers and additives found in store-bought varieties. Plus, you can tailor the flavors to your liking—whether you want it super sweet or less sugary, you’re in charge!
With a preparation time of just 10 minutes (plus a few hours in the freezer), this decadent treat is surprisingly easy to make. Imagine hosting friends for a summer gathering and serving them this delectable homemade delight. They'll be asking for the recipe, and you'll be able to share your newfound ice cream-making skills!
Let’s dive into the delightful world of Homemade Butterfinger Ice Cream and have some sweet fun in the kitchen together!
Ingredients for Homemade Butterfinger Ice Cream
Essential Ingredients for a Creamy Treat
To whip up your own Homemade Butterfinger Ice Cream, you'll need a few essential ingredients that come together to create that rich, creamy texture we all crave. Here's what you'll gather:
- 1 pint heavy cream: This is the key to creaminess.
- 1 12 oz can evaporated milk: Adds extra richness and a touch of sweetness.
- 1 14 oz can sweetened condensed milk: This is where the magic happens, infusing that signature sweet flavor.
- 4 cups whole milk: For a smooth consistency.
- 1 3.4 oz box vanilla instant pudding: Helps create a thick, luscious base.
- ¾ cup sugar: Sweetens the deal.
- 4 Tablespoons vanilla extract: A must for flavor!
- 5 1.9 ounce Butterfinger Bars, crushed: The star of the show!
Fun Add-ins: Why Butterfinger?
So, why choose Butterfinger for your ice cream? Beyond the delightful crunch and chocolatey flavor, these bars introduce a fun texture and contrast to the creamy ice cream. The buttery, crunchy bits blend perfectly, creating little nuggets of joy in every scoop! Plus, who doesn’t love a classic candy bar? It’s a nostalgic nod to childhood that elevates your dessert game. For an extra twist, consider adding a swirl of chocolate fudge or peanut butter for that ultimate treat!
Preparing Homemade Butterfinger Ice Cream
Making your own ice cream at home can be a delightful experience, especially when it involves flavors like butterfinger. Trust me, once you whip up this Homemade Butterfinger Ice Cream, you might never want to buy store-bought again! Here’s a step-by-step guide to ensure you nail this delicious treat.
Gather and Measure Your Ingredients
First things first, let’s make sure you have everything you need before you begin. Here’s a quick list of what you'll require for your Homemade Butterfinger Ice Cream:
- 1 pint heavy cream
- 1 can (12 oz) evaporated milk
- 1 can (14 oz) sweetened condensed milk
- 4 cups whole milk
- 1 box (3.4 oz) vanilla instant pudding
- ¾ cup sugar
- 4 tablespoons vanilla extract
- 5 Butterfinger bars (1.9 oz each), crushed
Having everything pre-measured not only makes the process smoother but also elevates your confidence as a budding ice cream artisan!
Mix the Base for Maximum Creaminess
Once you have your ingredients measured, it’s time to make the magic happen! In a large mixing bowl, whisk together the heavy cream, evaporated milk, sweetened condensed milk, whole milk, instant pudding mix, sugar, and vanilla extract. You're aiming for a creamy, luscious base that’s perfect for ice cream. Mixing these ingredients thoroughly ensures the ultimate flavor infusion and creamy texture.
Chill the Mixture for Optimal Texture
After you’ve mixed everything together, cover the bowl and let it chill in the refrigerator for about 2-3 hours. This step is crucial; allowing your base to chill will help achieve that smooth, creamy consistency we all crave in ice cream. Plus, it will prevent any ice crystals from forming during the churning process—nobody wants grainy ice cream!
Churn the Ice Cream Like a Pro
Now comes the fun part! Pour your chilled mixture into your ice cream maker, and churn according to the manufacturer’s instructions. This usually takes around 20-25 minutes, but keep an eye on it. You want it to reach a soft-serve consistency. If you don’t have an ice cream maker, don’t worry! You can find some excellent no-churn ice cream recipes that can yield similar results.
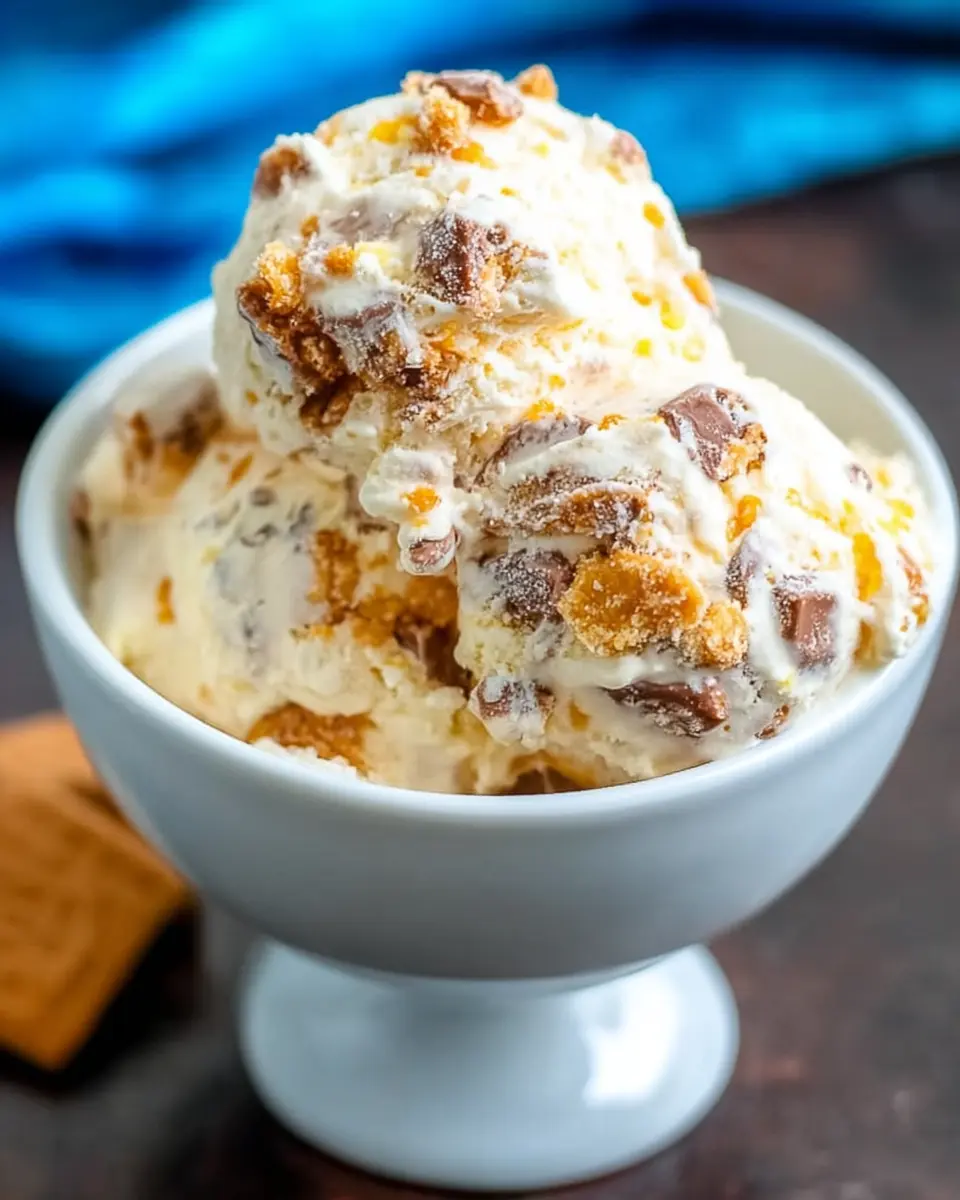
Incorporate Butterfinger Crunch
As your ice cream nears the finish line—typically the last 5 minutes of churning—this is when you can add the crushed Butterfinger bars. They will get mixed in beautifully, creating yummy crunchy pockets of flavor throughout your ice cream. For an added touch, consider saving some pieces to sprinkle on top when serving!
After churning, you can serve it immediately or transfer the ice cream to an airtight container and freeze for an additional 2 hours. Then, it’s time to indulge in your homemade masterpiece!
Now that you know how to prepare Homemade Butterfinger Ice Cream, you’re set to impress friends and family with a truly decadent dessert. Happy ice cream making!
Variations on Homemade Butterfinger Ice Cream
Alternate Candy Mix-ins for a Twist
Want to elevate your Homemade Butterfinger Ice Cream experience? Consider swapping out the Butterfinger bars for other delicious candy treats! Some popular options include:
- Reese's Peanut Butter Cups: Add a nutty twist with rich chocolate and peanut butter.
- Crunch Bars: For a delightful crunch, mix in pieces of these chocolate-covered crispy rice bars.
- M&Ms: Colorful and fun, they add both a visual pop and a chewy texture.
Experimenting with mix-ins can result in a unique ice cream every time!
Dairy-Free Options for Ice Cream Lovers
If you’re looking for a dairy-free version of your favorite Homemade Butterfinger Ice Cream, it’s totally possible! Try using:
- Coconut Cream: This will make your ice cream creamy and rich.
- Almond or Oat Milk: These milk alternatives can serve as a base while still offering a mild flavor.
- Dairy-Free Sweetened Condensed Milk: This ensures that your ice cream remains sweet and luscious without the dairy.
With these alternatives, you can indulge in a creamy treat everyone will enjoy! For more ideas, check out Minimalist Baker for fantastic vegan ice cream recipes.
Cooking Tips and Notes for Homemade Butterfinger Ice Cream
Chill Time: The Key to Creamy Ice Cream
To achieve a delightfully creamy Homemade Butterfinger Ice Cream, it's essential to chill your mixture thoroughly before churning. Aim for at least 2-3 hours in the fridge! This allows the flavors to meld beautifully and ensures a smoother texture. If you're short on time, you can chill it in the freezer, but keep an eye on it to prevent it from freezing solid!
Storing Leftovers: How to Keep It Fresh
If you happen to have leftovers (though it's hard to resist), store your ice cream in an airtight container to keep it fresh. Adding a layer of plastic wrap directly on the ice cream’s surface before sealing can help prevent ice crystals from forming. For best flavor and texture, consume within two weeks—though we bet it won't last that long!
For more tips on ice cream making, check out this guide.

Serving Suggestions for Homemade Butterfinger Ice Cream
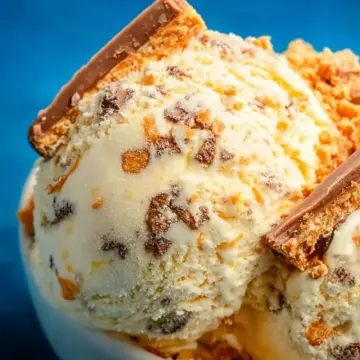
Toppings to Elevate Your Ice Cream Bowl
To truly indulge in your Homemade Butterfinger Ice Cream, consider adding toppings that complement its rich flavor. Some fantastic options include:
- Chopped nuts (like almonds or pecans) for a crunchy texture.
- Chocolate syrup drizzled on top for a classic touch.
- Whipped cream to add a lightness to your dessert.
- A sprinkle of sea salt to enhance the sweetness!
These toppings not only make your bowl look delicious but also add layers of flavor you won't want to miss.
Creative Servings: Ice Cream Sandwiches and More
Why stop at just scooping? Transform your Homemade Butterfinger Ice Cream into delightful ice cream sandwiches! Simply take two cookies—chocolate chip or even oatmeal—and sandwich a generous scoop of the ice cream in between. Press gently and enjoy a new twist on a timeless treat.
You can also serve it in a waffle cone for an upscale feel or blend it into a milkshake for a creamy drink experience. The possibilities are endless, so let your creativity shine!
Time Breakdown for Homemade Butterfinger Ice Cream
Preparation Time
Getting started takes just 10 minutes! You'll whisk together the ingredients for Homemade Butterfinger Ice Cream in no time, making this a perfect treat for busy schedules.
Chilling Time
Next, let your delicious mixture chill in the refrigerator for about 2-3 hours. This step is essential for achieving that ultra-smooth texture!
Total Time
In total, you're looking at approximately 4 hours and 10 minutes from start to finish. Most of that is just chilling time, so you can easily fit this in on a lazy afternoon.
Enjoy the process, and soon you’ll be savoring every scoop of your homemade delight! If you're interested in tips for perfecting ice cream at home, check out this guide from Serious Eats.
Nutritional Facts for Homemade Butterfinger Ice Cream
Calories per Serving
Indulging in a scoop of Homemade Butterfinger Ice Cream packs a flavorful punch with approximately 385 calories per serving. This creamy delight is rich and satisfying, making it a wonderful treat for those sunny days or cozy nights.
Fat Content and Sugar Levels
When it comes to fat content, each serving contains about 19 grams of fat, with 12 grams of that being saturated fat. It does carry a sweetness, featuring roughly 42 grams of sugar, courtesy of those irresistible Butterfinger chunks. While enjoying this frozen dessert, balance is key—moderation helps you savor every creamy bite without overdoing it.
For more insights on ice cream nutrition, consider checking out resources from the American Dairy Association or learn about the benefits of enjoying a treat in moderation from the American Heart Association.
FAQs about Homemade Butterfinger Ice Cream
Can I use different kinds of milk?
Absolutely! While our Homemade Butterfinger Ice Cream recipe calls for whole milk for creaminess, you can substitute with 2% milk or even dairy alternatives like almond or oat milk, although the texture might not be quite as rich. If you opt for a lighter milk, consider adding a bit more heavy cream to maintain that luscious, creamy mouthfeel.
What if I don’t have an ice cream maker?
No worries if you lack an ice cream maker! You can still whip up a delectable batch by placing your mixture in a shallow dish and freezing it. Stir every 30 minutes for about 2-3 hours to break up the ice crystals — this will give you a smoother consistency.
How long can I store it in the freezer?
Your Homemade Butterfinger Ice Cream can be stored in the freezer for up to 2-3 weeks. Just keep it in an airtight container to prevent freezer burn. Over time, you might notice a slight change in texture, but it’ll still be delicious!
Conclusion on Homemade Butterfinger Ice Cream
Homemade Butterfinger Ice Cream is a delightful treat perfect for any occasion. Its extra creaminess and sweet crunch from Butterfinger chunks make it irresistible. Whether enjoyed immediately after churning or frozen for later, it's an indulgence that will satisfy your sweet tooth. Get ready to impress your friends!
For more delightful homemade ice cream recipes, check out Joy of Baking or The Kitchn.
Homemade Butterfinger Ice Cream
Equipment
- Ice Cream Scoop
- Cuisinart 1.5 Quart Ice Cream Maker
- Cuisinart 1-½-Quart Freezer Bowl
Ingredients
- 1 pint heavy cream
- 1 12 oz can evaporated milk
- 1 14 oz can sweetened condensed milk
- 4 cups whole milk
- 1 3.4 oz box vanilla instant pudding
- ¾ cup sugar
- 4 Tablespoons vanilla extract
- 5 1.9 ounce Butterfinger Bars crushed
Instructions
- In a large bowl, whisk together cream, evaporated milk, sweetened condensed milk, whole milk, pudding mix, sugar, and vanilla.
- Cover and chill for 2-3 hours, or until very cold.
- Pour chilled mixture into an ice cream maker, and churn according to manufacturer's instructions.
- During the last 5 minutes of churning, add the crushed Butterfinger pieces.
- Serve immediately, or pour into an airtight container and freeze for two hours or more.

Leave a Reply